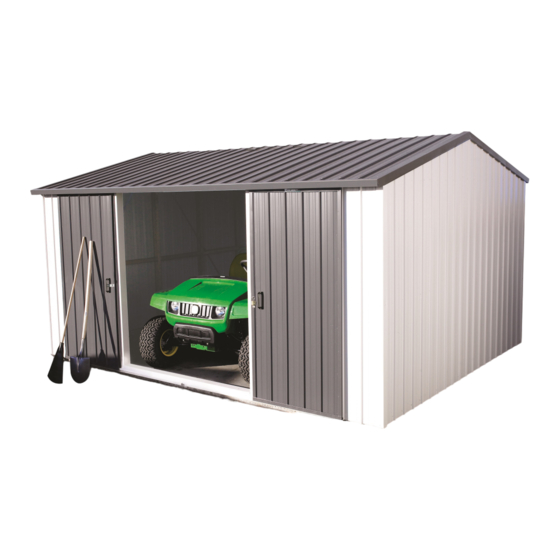
Duratuf MK4B Manuel d'instructions de montage - Page 12
Parcourez en ligne ou téléchargez le pdf Manuel d'instructions de montage pour {nom_de_la_catégorie} Duratuf MK4B. Duratuf MK4B 16 pages. Kiwi series, base size 4210mm x 3380mm

MK4B CLEAR ROOF PANEL (Optional)
Step 1: Leave a gap where the Clear Panel is to be fitted. Position the next Roof Sheet. Ensure it overlaps correctly, then
rivet together, one rivet in the centre and one approximately 600 mm down from the centre on both sides. Rit re-
maining Roof Sheets, overlapping and riveting as you go. Nail on first Roof Sheet (refer step 3 on page 11).
Step 2: Where the Clear Roof Panel is to be positioned, nail a 45x45mm Bevelled Edge Support on each side of the
Ridge Beam. (fig. 1)
Step 3: Position Clear Roof Panel and Flat Roof Sheet (or second Clear Panel). The Flat Roof Sheet underlaps one sheet
and overlaps the other. The Clear Roof Panel OVERLAPS both Roof Sheets. Ensure sheet joins are flush at the
outside edge then rivet flat sheets to pressed sheets, three rivets per join. Centralise Roof at the other end and
nail in place.
Step 4: Ensure Ridge Beam is straight, then nail the Clear Panel and Flat Roof Sheet (or second Clear Panel) to
45x45mm Bevelled Edge Supports using one 30mm Clout per Pan. Run two generous beads of Silicone on the
under side of the Pressed Capping Sheet. Position Pressed Capping Sheet on Ridge Beam and nail in place us-
ing three 40mm Weatherseals. Nail one 40mm Weatherseal into Ridge Beam beside each overlap (one nail per
sheet).
Step 5: At the Back set up a String line in the centre of the Top Plate. Ensure Top Plate is straight and nail off, one 40mm
Weatherseal per Pan. Repeat at the front.
Note:
When nailing through the Clear Panel, pre-drill a 6mm hole.
fig.1.
Note:
Diagram shows MK2 model
12
