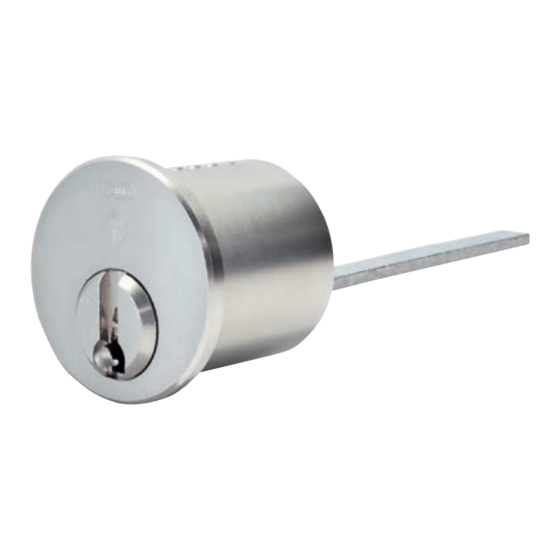
Abus Vitess 83 Insert Manuel d'entretien - Page 13
Parcourez en ligne ou téléchargez le pdf Manuel d'entretien pour {nom_de_la_catégorie} Abus Vitess 83 Insert. Abus Vitess 83 Insert 20 pages.

ASSEMBLY INSTRUCTIONS - MORTISE
Delivery of the pre-loaded housing
•
Our pre-loaded housing includes all parts that are necessary to
assemble a functional cylinder
•
Inside the cylinder there is a black plastic plug which has to be
exchanged by a pinned core
•
The housing is filled corresponding to the factory standard with
steel springs and housing pins
•
When ordered, additionally the following parts are included:
cam, screws
Step 1
•
Insert the cut key into the cylinder core
•
Place the profile check pin in the core
Step 4
•
1 ¼ mortise cylinder: Remove the key
slowly from the core and stick extension
piece onto the t-groove
Step 7
•
Remove the key by holding the core with
your thumb
•
The core isn't fixed yet and could be pulled
out with key inside
Step 2
•
Insert the hardened InTop pin into the 1st
chamber
•
Attention: Pull the key a little and insert
it again
Step 5
•
Position the pinned core with the inserted
cut key and rotate the core to the 2 o'clock
position
Step 8
•
Fix the cam with 2 screws on the backside
of the core
Step 3
•
Insert the bottom pins made of hardened
steel into the 3rd chamber
•
Insert the bottom pins made of nickel silver
into the 2nd and 4th to 6th chamber
Only for master keyed systems: Insert master
wafers
•
Check with cut key – no pin should be
positioned too low or above the shear line
of the core – control with assembly tool
possible
Step 6
•
Push the core inside until the plastic plug
has been pushed through completely.
•
Rotate the core forward clockwise until the
key is at the 12 o'clock position
13
