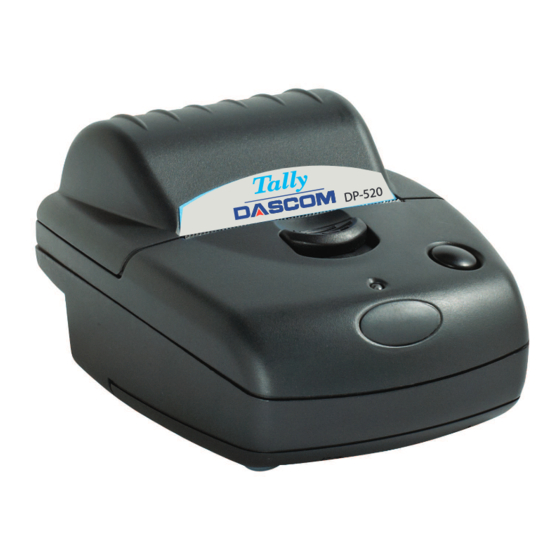
Dascom DP-520 Instructions d'installation rapide
Parcourez en ligne ou téléchargez le pdf Instructions d'installation rapide pour {nom_de_la_catégorie} Dascom DP-520. Dascom DP-520 2 pages. Wired printer
Également pour Dascom DP-520 : Manuel de l'utilisateur (12 pages), Manuel de l'opérateur (19 pages), Instructions d'installation rapide (2 pages)

Before Using Your Printer:
• Refer to Figure A to become familiar with the features of the DP510 or DP520 printer.
• Connect the Battery – (Refer to Figure B)
1. Remove the screw from the battery compartment door.
2. Push down and slide off the battery compartment door.
3. Plug the connector on the battery cable into the connector on the printer.
4. Make sure the battery cable is routed so that it will not be pinched when the door is installed.
5. Reinstall the battery compartment door and replace the screw.
• Charge the Battery – (Refer to Figure A)
™
1. Connect a Dascom
trickle charger (sold separately) to the appropriate power source and plug the cable into the printer's Power
Connector as shown in Figure A. The charger may also be connected at the back of the DB9 connector of the optional RS-232 Serial
Cable.
2. The Status Indicator will flash orange indicating that the battery is being charged.
3. The battery will charge in 15 hours. The printer should not be used during this time.
• Load Paper – (Refer to Figure C)
1. Slide the paper lid release button toward the front of the printer until the lid opens.
2. Place the paper in the paper compartment with a small amount of paper extending from the top of the printer.
3. Close the paper lid until it "snaps" closed.
• Perform a Self Test – After the battery has fully charged, "double-click" the Paper Feed button.
• Attach the Belt Clip/Wall Mount – (Sold Separately, Refer to Figure D):
1. Remove the two "breakouts" using a small screwdriver.
2. Insert the Belt Clip/Wall Mount Bracket into the four holes on the back of the printer.
3. Slide the bracket toward the front of the printer until it "snaps" into place. The bracket may be removed from the printer by using the
Printer Release tab.
4. Place the Belt Clip over a belt as shown. The supplied machine screw may be used for additional security (requires removal of the
battery compartment door screw).
––– OR –––
Fasten the bracket to a wall using the supplied anchors and self tapping screws before attaching the bracket to the printer.
Notes: • Use Only Dascom Battery Chargers.
• The battery must be fully charged as described above prior to first use.
• Maximum Battery Capacity is first reached after completing three complete charge and discharge cycles.
• Always use Genuine Dascom Paper & Labels to ensure optimal performance.
For more information, refer to the DP-510/520 Operator's Manual. You may download this manual at www.dascomamericas.com.
Dascom Americas
421 West Main Street
Waynesboro, VA 22980
877- 434-1377
Dascom is a registered trademark of Dascom, Inc.
Bluetooth is a registered trademark of Bluetooth SIG, Inc.
IrDA is a registered trademark of the Infrared Data Assoc.
DP-510/520 Quick Setup Instructions
Paper Lid
DP-510
Paper Lid Release
Indicator
IrDA Window
Paper Feed Button
DP-520
Status
Figure A
Figure B
Figure C
Printer Release Tab
2
3
1
Wall Mount
Figure D
Belt
