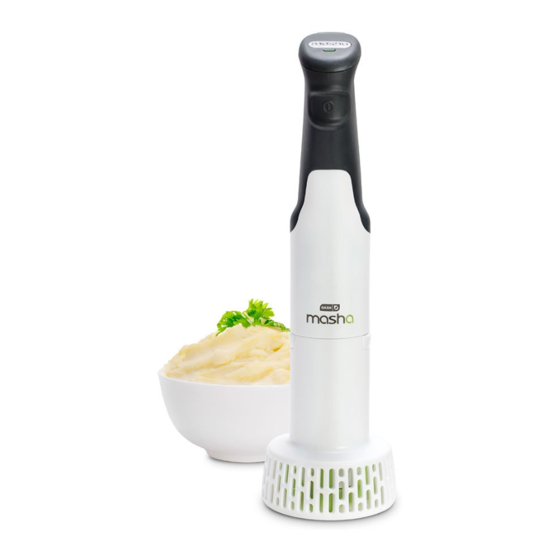
Dash MASHA 2X DMA001 Manuel d'instructions et de recettes - Page 5
Parcourez en ligne ou téléchargez le pdf Manuel d'instructions et de recettes pour {nom_de_la_catégorie} Dash MASHA 2X DMA001. Dash MASHA 2X DMA001 17 pages.

SETTING UP YOUR MASHA
Clean your Dash Masha thoroughly before using. Always be sure to
unplug the appliance prior to cleaning or storing.
WARNING: The Dash Masha Motor Unit is NOT dishwasher safe.
BEFORE FIRST USE
Remove all packaging material and stickers before using your
•
Dash Masha.
DO NOT SUBMERGE the Motor Unit in water or other liquids.
•
Instead, use a slightly damp cloth to wipe down the surface.
Detach the Masher Cone from the Motor Unit. Next, rotate the
•
Rotor counterclockwise so that it disconnects from the Cone.
Wash the Masher Cone and Rotor in warm, soapy water.
ATTENTION: Do not use abrasive scrubbers, sponges, or chemical
•
cleaners as they will damage the appliance.
DISASSEMBLY AND CLEANING
Before cleaning your Masha, release the On/Off Button and unplug
•
the cord from the wall outlet.
Wipe down the Motor Unit with a soft, slightly damp cloth.
•
Remove the Masher Cone by simply pressing the Masher Cone.
•
Release buttons located on the sides of the Motor Unit.
Turn the Rotor counterclockwise until you hear a 'click'. Remove
•
Rotor from Masher Cone and wash both components in warm,
soapy water.
After washing and drying thoroughly, reattach the Rotor by turning
•
it clockwise until it locks into place at the base of the Masher Cone.
8 ∙ bydash.com ∙ setting up your masha
SETTING UP YOUR MASHA
ASSEMBLY
setting up your masha ∙ bydash.com ∙ 9
1.
Insert the Rotor into the Masher
Cone. Rotate the Rotor clockwise
until a 'click' is heard.
2.
Insert the Motor Unit into the top
of the assembled Masher Cone.
Make sure the Masher Cone
Release buttons align with the
two indents on the Masher Cone.
3.
Plug in your Dash Masha and begin!
