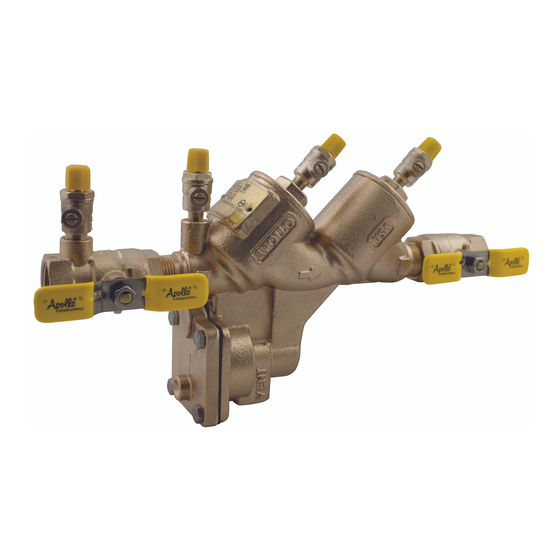
Apollo Valves RP4A Manuel d'installation, d'utilisation et d'entretien - Page 8
Parcourez en ligne ou téléchargez le pdf Manuel d'installation, d'utilisation et d'entretien pour {nom_de_la_catégorie} Apollo Valves RP4A. Apollo Valves RP4A 16 pages. Reduced pressure principle (rp) backflow preventer

INSTALLATION, OPERATION, & MAINTENANCE MANUAL
TEST NO. 3
PURPOSE: To test check valve #1 for tightness.
1.
Close high "A" valve and open test cock #2.
2.
Close test cock #4.
3.
Open low valve "B", this will bleed air from low side of gauge, then closing valve "B" restores the system to a normal static
condition.
4.
Observe the pressure di erential gauge; this value must be a least 5.0 psi or greater. Record this value for check valve #1 on
the back ow test report form.
TEST NO. 4
PURPOSE: To test operation of the Di erential Pressure Relief Valve.
The Pressure Di erential Relief Valve must operate to maintain the "zone" between the two check valves at least 2 psi less than
supply pressure.
1.
Close vent "C" valve.
2.
Open the high "A" valve.
3.
Slowly open the low "B" valve no more than one turn.
4.
Hold the valve at this position and observe the gauge reading at the rst moment the rst discharge is noted from the relief
valve.
5.
Record this as the opening di erential pressure of the relief valve on the test report form.
TEST NO. 5
PURPOSE: To do a di erential pressure test on check valve #2.
1.
After completing test No. 4, close test cock #2, then close test cock #3.
2.
Close valves "A", "B", and "C" on test kit.
3.
Move low hose "B" to test cock #4, then move high hose "A" to test cock #3.
4.
Slowly open test cock #4, then open vent "C" valve and low "B" valve. This will bleed air from low side of gauge.
5.
Slowly open test cock #3, then open high "A" valve. This will bleed air from high side of gauge.
6.
Close valve "A", then "B", then "C".
7.
Observe the pressure di erential gauge, this value must be at least 1.0 psi or greater.
8.
Record this value for check valve #2 on the back ow test report form.
END OF TESTING
Make sure all test cocks are closed. Remove hoses and ttings. Slowly open shut-o valve #2 to restore water supply to
the customer.
8
Customer Service (704) 841-6000
www.apollovalves.com
