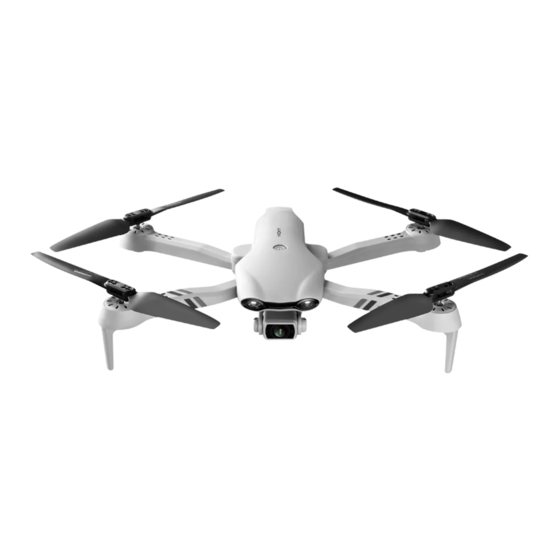
4DRC 4D-F10 Manuel d'utilisation - Page 5
Parcourez en ligne ou téléchargez le pdf Manuel d'utilisation pour {nom_de_la_catégorie} 4DRC 4D-F10. 4DRC 4D-F10 16 pages.

6. Name of each part of the remote control:
Fine adjustment (press and
hold)/speed gear
Power Indicator
Left stick
Power switch (long press)
Horizontal calibration (short
press) Geomagnetism
(compass) calibration (long
press for 3s)
One-key take-off / one-key
landing
Normal/GPS button: Press and hold this button for 3s after frequency matching to switch between
normal mode and GPS mode (It is by default GPS mode after starting up, GPS indicator will be on,
and when it enters normal mode, the indicator will be off).
Headless mode button: Press this button once to enter the headless mode, the headless light will
be on; press it again to exit the headless mode, and the headless light will be off.
Return button: Press this button once to return home, and the return light will be on. Press again to
cancel the returning, and the return light will be off.
7. Remote control battery installation:
Instructions in charging:
Do not put the charged battery in a place with high temperature and heat, such as an
●
open flame or an electric heating device, otherwise damage or explosion may occur.
Do not hit or beat the surface of hard objects with the battery.
●
Do not disassemble the battery.
●
Do not immerse the battery in water, and please store the
●
battery in a dry place.
Do not leave battery alone when charging.
●
Press the
emergency
pause button at
the same time
Battery cover
1. The positive and negative poles and the positive and
AAA battery
negative poles of the battery box must be identified when
inserting the battery, and error is not allowed.
2. Do not mix old and new batteries.
3. Do not mix different types of batteries.
04
Description of remote
control indicator:
One-key
GPS
return
Photo / Video (long
press)
Right stick
GPS switch (long
press)
Headless mode
One-key return
Battery installation:
7.1 Press the battery cover button with
a screwdriver and remove the
battery cover at the same time.
7.2 According to the polarity
instructions on the battery
compartment, remove the battery
cover on the back and insert a 4X
"AAA" battery (not included).
Note
Warning
When the aircraft is not in flying, disconnect the
battery plug from the power connector of the aircraft
circuit board to prevent the battery from being
damaged.
Headless
mode
