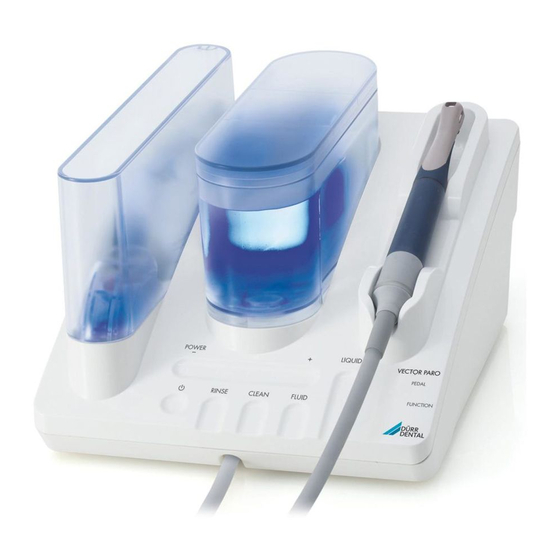
Durr Dental Vector Scaler Instructions abrégées
Parcourez en ligne ou téléchargez le pdf Instructions abrégées pour {nom_de_la_catégorie} Durr Dental Vector Scaler. Durr Dental Vector Scaler 2 pages.
Également pour Durr Dental Vector Scaler : Manuel rapide (2 pages)

Vector Paro and Vector Scaler
Short instructions
49
41
LED off
LED lights
40
LED blinks
40 ON / Standby
When switching on or off,
press the key for at least 2 seconds.
Standby, unit off
ON, unit on
When the unit detects no function for a
period of 30 minutes, the unit is automa-
tically switched to off / Standby.
41 P Ower (set performance)
1 - 5 LEDs light - depending on the
performance set
(5 LEDs = max. performance)
Tip: the performance can also be
adjusted during treatment
48
46
47
42
43
44
45
42 riNSe (rinse/disinfection)
Press the key for at least 2 seconds
blue LED blinks - Rinse process begins
NOTiCe
Danger of blockage
• After every treatment involving
Vector Fluid Polish, rinse thoroughly
with water (RINSE).
43 CleaN
After ca. 30 operating hours the LED is
constantly lit - start cleaning operation.
Start Clean process.
press the key for at least 2 seconds.
blue LED blinks - Clean process begins
recommendation: clean every four
weeks or, at the latest, as soon as the
LED stays constantly lit.
44 / 49 FluiD
Switch fluid on / off
Touch the fluid key (44) for a minimum of
1 seconds.
During fluid transport the LED (49) in the
pierecing mechanism lights.
Fluid pretransported to the handpiece
Touch the key (44) for a minimum of 2
seconds.
Blue LED blinks s imultaneously with
LED (49) in the pierecing mechanism .
45 liquiD
Display is only active when the Scaler
handpiece is inserted
1 LED lights = minimum fluid consumpti-
on: 30 ml / minute
3 LED light = maximum fluid consumption:
45 ml / minute
46 PeDal (Flex-foot switch)
Orange leD lights
Battery performance of Flex-foot switch
low. Change the batteries.
Orange leD blinks
The Flex foot pedal has not been alloca-
ted or connected
47 FuNCTiON
Orange leD lights
Treatment has been interrupted. Clean
the instrument chuck using air / water
spray until it is dry and then resume
treatment.
Orange leD blinks
Resonance of the instrument impeded in
some way.
• When there is too much pressing force
of the instrument during treatment, re-
duce the pressing force.
• Check the instrument for signs of wear
or bending.
• Clean and dry the Paro handpiece in-
strument chuck and resonant ring
using the air and water sprays.
48 leD in fluid container
Normal operation,
fluid container full
Minimum fluid level
When the minimum fluid level in the fluid
containers is reached the lighting begins
to blink and a warning signal "Minimum
fluid level" can be heard three times
warNiNg
Danger of crosscontamination
• Before each patient treatment each
part must be prepared, see
13. Decontamination process in
Installations- and Operating Instructions
Vector Paro. Order no. 9000-615-28/..
NOTiCe
accidental splashing of chemicals
into oral cavity
Vector cleaner irritating to skin.
Rinse thoroughly with water after coming
into contact with cleaner.
• Do not interrupt the clean or rinse
processes.
Paro handpiece in position:
Power settings p ossible
Liquid settings not p ossible
Scaler handpiece in position:
Power and liquid settings p ossible
No handpiece in position:
The settings cannot be changed.
The LEDs are only active and light up
when the handpiece is in position
correctly.
The last settings in connection with the
handpiece in position remain active after
switching off and then on again.
The clean and rinse processes can be
broken off by touching the appropriate
key again.
acoustic signals
audible signal
Cause / Situation
• C licking noise
• T ouching operating
panel
• A function has been
activated,
e.g. RINSE, CLEAN,
FLuID
• L ong, low
• F unction selected
audible signal
cannot be carried out.
• W arning signal,
• F luid level at minimum
3 x high
• W aiting for fluid during
audible signal
the cleaning process
