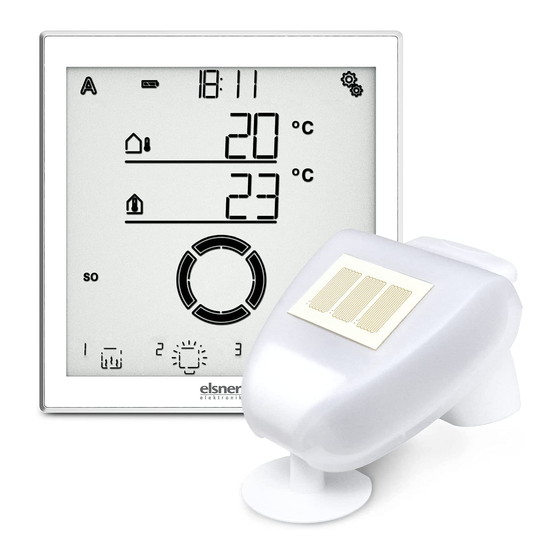
Elsner Solexa II Description technique, instructions d'installation - Page 14
Parcourez en ligne ou téléchargez le pdf Description technique, instructions d'installation pour {nom_de_la_catégorie} Elsner Solexa II. Elsner Solexa II 20 pages. Radio control system
Également pour Elsner Solexa II : Fonctionnement (13 pages)

4.4.2. Attaching the mountAttaching the mount
The weather station comes with a combination wall/pole mount. The mount comes ad-
hered by adhesive strips to the rear side of the housing.
Fasten the holder vertically to the wall or pole.
Ill. 10
For wall mounting: Flat side to the wall, crescent
moon-shaped crosspiece facing up.
Collar
Ill. 11
For pole mounting: curved side to the pole,
crosspiece facing down.
Collar
Ill. 12
Different mounting arms are available from Els-
ner Elektronik as additional, optional accessories
for flexible installation of the weather station on
a wall, pole or beam.
Example of the use of a mounting arm: Due to
flexible ball joints, the sensor can be brought
into ideal position.
Ill. 13
Example use of the hinge arm mounting:
With the hinge arm mounting, the weather sta-
tion projects from beneath the roof overhang.
Sun, wind and precipitation can act upon the
sensors without hindrance.
Solexa II Control • from software version 1.9
Version: 28.09.2016 • Technical changes and errors excepted.
14
Installation/assembly
