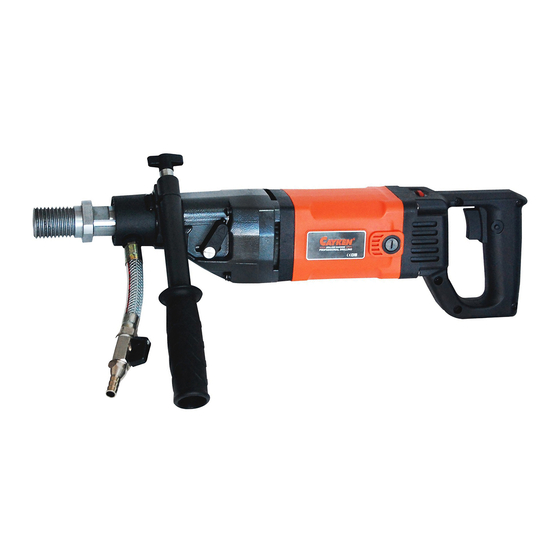
Cayken SCY-1520/3EBS Instructions d'utilisation - Page 5
Parcourez en ligne ou téléchargez le pdf Instructions d'utilisation pour {nom_de_la_catégorie} Cayken SCY-1520/3EBS. Cayken SCY-1520/3EBS 9 pages.

SAFE OPERATION
1. Please read the manual carefully before operation. This machine may only be used by
trained people.
2. Please check the voltage before start, the power voltage should be no more than ±5% of
rated voltage. Higher voltages however can cause damages such as motor burning and
electric leakage.
3. Wear helmet, insulating gloves, labor suit. Do not wear wide clothing or jewelry, keep hair
away from it in case of twist.
4. This machine is designed for wet drill bits, do not use other bits, and do not enlarge the
motor load.
5. Pay attention that the water can' t get into the motor, do not block the ventilation, in case
of motor burning.
6. Check the workplace before operation, eliminate danger, such as high voltage power lines,
gas piping water pipe and telecommunication facility and so on.
7. Pay attention to the safety of down layer if the machine should drill holes through floor.
When drill on beam column, check the structure of building.
8. Do not work in explosive ambiances with the electric tool, in which there are flammable
liquid, gases or dusts. Electric tools generate sparks which can inflame the dust or vapors.
9. Make sure, the drill machine start to operate with no-load, starting with load is prohibited, or
may cause damages to machine and users. Fix the machine well in case of dropping when
working on high place.
10. Use high quality three-core cable and make sure the cable is connected with ground. A
ground fault circuit interrupter is necessary.
OPERATION
1. The fixation of expansion bolt: Drill a hole by impact drill in the set position, screw the
expansion bolt, make sure it is tight, fix the diamond drill machine on it, and adjust the four
regulating screws to keep the drill machine from swinging.
2. The fixation of support rod : determine the drilling location, supporting rod, adjusting the
length of the push rod, and adjust the fastening screws, so that the drilling rig substructure
full contact face, and ensure the drill bit and drill vertical face ,no swing.
3. Fix the drill bit, connect the power and water supply, move adjusting tools, switch on when
the drill machine is no load, check the drill bit and sound, if everything is fine, then open the
water tap, the machine can start to drill when water flow from the drill bit.
4. Take it slow when at first, when the drill bit cut in the wall, change to normal speed. Slow
down when the drill machine run into steel.
5. Both mechanical and electronic protections exist in drill machine. When drilling, if the motor
is working, while the drill bit is not moving, means the drill bit need sharpened or feeding
speed is too fast, please pull out the drill bit then re-feed. If the motor stop when
drilling, please return on the machine and slow down the feed speed.
6. After using period of time, the abrasion of friction plate may cause slip. Please take the
clutch gear out of gearbox and change friction plates to unified size, tight the screws. Then
put the gear back to gearbox (This step should be done by trained person).
INSTRUCTION OF SHIFTING GEAR
In order to improve the efficiency, some machines are designed with 2-speed gear
shift, high speed(H speed) and low speed(L speed). H speed is for drilling on soft
material with small drill bit , M speed is for drilling on hard material with medium drill
bit, L speed is for drilling on hard material with large drill bit.
Shift when the machine stops or will stop.
Shift in place. If the spindle does not rotate or there is some noise after starting up, the gear
may not shift in place. Turn off the machine immediately, and then shift the gear to proper
place, rotate the spindle back and forth (easy to shift) at the same time till shift in place.
Do not shift when the machine is full-speed operated, over load or stuck.
L
is for low speed,
H
The drawing is for low speed. Low speed to high speed, turn the knob
clockwise, otherwise,anti-clockwise.
5
6
is for high speed and,
M
is for medium speed.
M
L
H
