4iQ JUPITER Manuel d'instruction - Page 9
Parcourez en ligne ou téléchargez le pdf Manuel d'instruction pour {nom_de_la_catégorie} 4iQ JUPITER. 4iQ JUPITER 11 pages. Panel heater 230v 2600w

REMOTE CONTROL INSTRUCTIONS
1. POWER BUTTON: Turns heater on or off.
2. UP BUTTON: Increases the temperature and timer level.
3. DOWN BUTTON: Decreases temperature and timer level.
Note: All heaters of the producer and their remote controls have the same frequency, so it is possible to control several heaters with just
one remote.
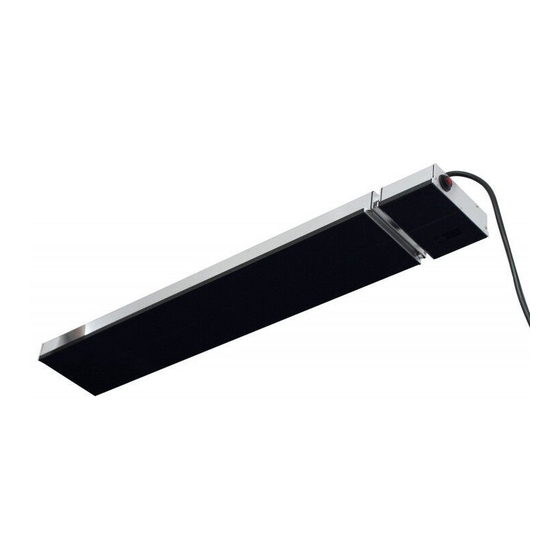
PUSH BUTTON: on the right end of heater, it could be manual operated without remote control.
INSERTING BATTERIES
Insert 2 AAA/ Alkaline type batteries into your remote control.
1. Flip the backside of your remote control and pull out battery cover. Insert the batteries in accordance with the instructions and polarity of the batteries.
2. Change the batteries in the same way depicted above.
NOTICE:
1. Replace the old batteries with the same type batteries. Otherwise, your heater may not function well.
2. Pull out the batteries in case of long terms of disuse to prevent leakage which may impair your remote control.
3. Do not allow water or liquid to get into the remote control.
MAINTENANCE
The panel heater is made from durable materials, however regular care and maintenance of your heater will help prolong the life of the heater.
1. It is recommended that you hose down the heater and with a soft cloth gently wipe the surfaces of the heater with a mild detergent to remove the built
up contaminants from the environment. Then rinse all detergent off the heater.
2. All chemicals in the atmosphere including cigarette smoke, pollution etc. will tarnish the surface of the heater. In this case, additional cleaning and ma-
intenance may be required.
3. Carrying out the cleaning process at least every three months will reduce the amount of build up and keep the heater in good condition.
4. If the heater is in a corrosive environment eg. salt spray, we recommend that you clean your heater with a light spray of fresh water every week. After
cleaning, turn the heater on for 20 minutes to dry any water residue.
5. Before cleaning or inspection activity, the heater must be switched off and cooled down completely.
6. Do not use any abrasive materials or products to clean the heater, this includes solvents, citrus based cleaners or other harsh cleaning products.
7. When handling the heater, ensure that your hands are clean or that you use clean gloves as grease or dirt can mark the surface of the heater.
8. Do not use high pressure water to clean heaters, light water spray only.
Storage: Store the heater in a cool, dry location when not in use to prevent dust and dirt build up. Use packaging carton to store.
REMOTE CONTROL FUNCTION
Button
Function (Heater On)
1
Turns heater on or off
Increase Heat Level
2
or Timer hours
Decrease Heat Level
3
or Timer Hours
Enable Heat Level
4
Adjustment
5
Enable Timer Adjustment
4. LEVEL BUTTON: Use to adjust heat levels (L1-L2). Press the Level button then
use the up and down buttons (2 and 3) to increase or decrease the heating level.
5. TIMER BUTTON: Use to set the timer from 0H– 24H(0-24 hours).
Adjust using buttons 2 & 3 to the number of hours you would like to set.
LED Display
Function (Heater Off)
on Heater
Turns heater on
to level 1 (minimum)
Turns heater on
L2 100%
to level 2 (maximum)
0-24
[0H]-[24H]
EN
L1 50%
L [n]
