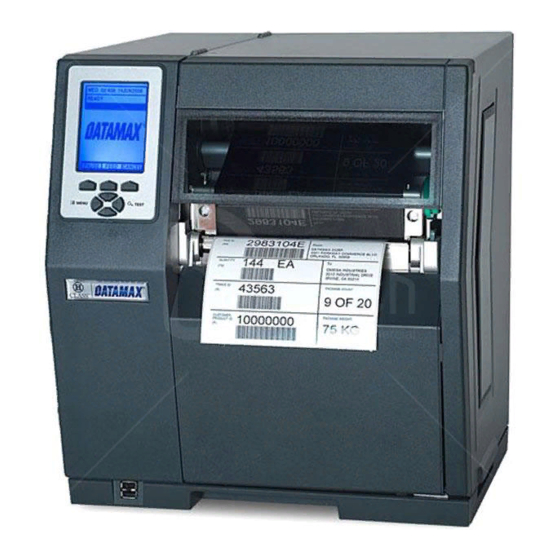
Datamax H-Class Manuel - Page 7
Parcourez en ligne ou téléchargez le pdf Manuel pour {nom_de_la_catégorie} Datamax H-Class. Datamax H-Class 10 pages. Cutter option
Également pour Datamax H-Class : Manuel (8 pages), Manuel de démarrage rapide (12 pages), Manuel (14 pages), Manuel (12 pages)

F) Ensure that READY is displayed on the Front Panel then press
the FEED Key and proceed according to your observations:
If REMOVE LABEL is displayed on the Front Panel, this
completes the installation; or,
If REMOVE LABEL is not displayed on the Front Panel,
proceed to Step 4: "Configuring the Printer."
Notes: (1) The operation of the Present Sensor on this option can also be controlled by host
software commands, so ensure that your labeling program is properly configured for use
when sending label formats to the printer.
(2) If this option is removed with power applied, the printer will behave as if a label awaits
removal; to restore normal operation, cycle power to the printer.
Step 4: Configuring the Printer
While the Heavy Duty Peel and Present option is a plug and play device, this step may be necessary if the
printer's default configuration has been changed. Follow the steps below to configure the printer:
Note: In the following procedure, consult the Operator's Manual for detailed front panel instructions.
A) Press the MENU Button on the printer's front panel.
B) Using the DOWN Button, scroll to PRINTER OPTIONS then press the RIGHT Button.
C) Using the DOWN Button, scroll to PRESENT SENSOR then press the ENTER Key.
D) Using the DOWN Button, scroll to MODE then press the ENTER Key.
E) Using the DOWN Button, scroll to AUTO then press the ENTER Key.
F) Press the EXIT Key then, at the SAVE CHANGES? prompt, select YES to complete the installation.
G) Turn the Power Switch 'Off' and 'On' to reset the printer and complete the configuration.
Note: If the printer fails to separate the labels from the backing material, and the Internal Rewinder
is not turning, it may need to be enabled. Using the procedure above as a guide, press the
MENU Button, scroll to PRINTER OPTIONS, then to REWINDER, and select AUTO.
Afterward, press the EXIT Key and save your changes when prompted.
Front Panel
5
FEED
Key
