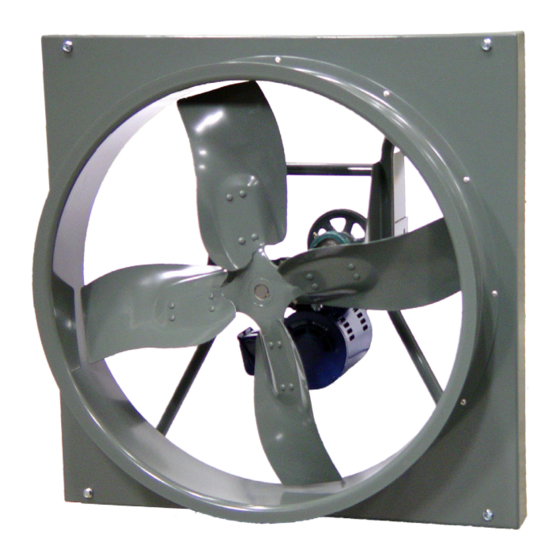
COOK AWB Series Manuel d'installation, d'utilisation et d'entretien - Page 2
Parcourez en ligne ou téléchargez le pdf Manuel d'installation, d'utilisation et d'entretien pour {nom_de_la_catégorie} COOK AWB Series. COOK AWB Series 17 pages. Propeller wall fans
Également pour COOK AWB Series : Manuel d'installation, d'utilisation et d'entretien (13 pages)
2.
Remove the motor mounting bolts from the motor
plate.
3.
Mount the motor to the motor plate aligning the
appropriate holes.
4.
Place the motor plate on the power assembly and
reinstall the mounting bolts.
Belt and Pulley
Installation
Belt tension is determined
by the sound of the belts
when the fan is first started.
The belts will produce a loud
squeal, which dissipates
after the fan is operating at
full capacity. If belt tension
is too tight or too loose, lost
efficiency and damage can
occur.
Do not change the pulley
pitch diameter to change tension. The change will result
in a different fan speed.
1.
Loosen the motor plate
adjustment nuts on motor
base and move motor plate
in order that the belts can
easily slip into the grooves
on the pulleys. Never pry,
roll, or force the belts over
the rim of the pulley.
2.
Adjust the motor plate until
proper tension is reached.
For proper tension, a
deflection of approximately
1/4" per foot of center
distance should be
obtained by firmly pressing
the belt. See drawing to the
right.
3.
Lock the motor plate adjustment nuts in place.
4.
Ensure pulleys are properly
aligned. See next section.
Pulley Alignment
Pulley alignment is adjusted
by loosening the motor pulley
OFFSET
A
W
CENTER
X
DISTANCE
(CD)
Y
Z
B
1/4 inch
Figure 3
Tolerance
Maximum
Center Distance
Gap
Up thru 12"
1/16"
12" up through 48
1/8"
Over 48"
1/4"
ANGULAR
OFFSET/ANGULAR
GAP
GAP
setscrew and by moving the motor pulley on the motor
shaft.
The drawing below indicates where to measure the
allowable gap for the drive alignment tolerance. All
contact points (indicated by WXYZ) are to have a gap
less than the tolerance shown in the table. When the
pulleys are not the same width, the allowable gap must
be adjusted by half of the difference in width. Figure
3 illustrates using a carpenter's square to adjust the
position of the motor pulley until the belt is parallel to the
longer leg of the square.
Installation
Insert the fan into the wall opening and secure with lag
screws, anchor bolts, or other suitable fasteners.
Always mount belt drive wall fans in order that the
motor base is below the fan shaft.
Wiring
Proper Electrical Safety Habits
Correctly label the circuit on the main power box and
always identify a closed switch to promote safety
(i.e., red tape over a closed switch).
All wiring should be in accordance with local
ordinances and the National Electrical Code,
NFPA 70. Ensure the power supply (voltage,
frequency, and current carrying capacity
of wires) is in accordance with the motor
nameplate. Follow the wiring diagram in the
disconnect switch and the wiring diagram
provided with the motor.
Leave enough slack in the wiring to allow for motor
movement when adjusting belt tension. Some fractional
motors have to be removed in order to make the
connection with the terminal box at the end of the motor.
Wall Fans
1.
Extend wires to the fan.
2.
Prevent excess wire from entering the shaft and
propeller area by restraining the excess wire to a
point outside the base.
Wall Fans with Wire Guard
1.
Remove end panel from the wire guard to gain
access to the motor.
2.
Extend wires through a side panel of the wire guard
to gain access to the motor.
3.
Prevent excess wire from entering the shaft and
propeller area by restraining the excess wire to a
point outside the base.
Wall Fans with Wall Housing
1.
Remove end guard from the wall housing.
2.
Drill a hole through either side panel at a
convenient location and pull the wires through. Do
not pull wires through wire guard at the back panel.
3.
Restrain the incoming wire at the side panel to
prevent excess wire from entering the shaft and
propeller area.
2