Datavideo DAC-200 Manuel d'installation - Page 13
Parcourez en ligne ou téléchargez le pdf Manuel d'installation pour {nom_de_la_catégorie} Datavideo DAC-200. Datavideo DAC-200 16 pages. Important note to make dac-200 work with pinnacle dv500:
Également pour Datavideo DAC-200 : Pour commencer (13 pages), Manuel de référence (1 pages), Important Notes (9 pages)

- 1. Table of Contents
- 2. Warnings and Precautions
- 3. Warranty
- 4. Disposal
- 5. FCC & CE Certification (Radio & Television Interference)
- 6. What's in the Box
- 7. Key Features
- 7. Front Panel Control/Connection
- 7. Rear Panel Control/Connection
- 8. Operation Procedure
- 8. DIP Switch Settings
- 9. Installation / Connections
- 10. Connecting a PC / MAC NLE System to an Analogue VCR
- 11. Specification
- 12. Service & Support
Installation / Connections
There are many possible ways to connect a DAC 200 to different systems.
Illustrated below are the two most common set ups, DV output from an NLE
system to an analogue recorder, and Analogue output to a PC / MAC NLE
system.
If your analogue device has SVideo connections available it is advisable to use
them as the signal quality will be superior to composite (RCA / Phono)
connections. If you are using SVideo (Y/C) connections do make sure you also
connect the Red and White (RCA / Phono) connectors for audio.
Many analogue VCRs have SCART connectors, it is no problem to use these with
a DAC 200 however you will need to use a SCART to 3 Phono / RCA Adaptor,
available from high street electrical stores. These adaptors are available in three
types, IN only, OUT only and switchable (IN and OUT), a switchable adaptor
would allow the most flexibility.
Connecting an analogue VCR or Camcorder to a PC / MAC NLE
System
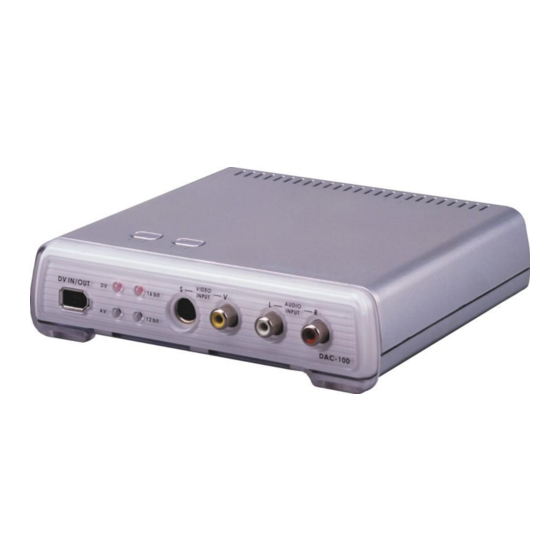
Connect the analogue output from the VCR or Camcorder to the inputs on the
front of the DAC 200. If SVideo (Y/C) is available it is best to use it.
Connect the DV Out from the DAC 200 to the IEEE 1394 / DV In on your NLE
system. Press the source button on the DAC 200 to ensure the AV light is on.
Make sure your DIP switch settings are correct for your set up (see page 11)
12
