4RF Aprisa SR+ Manuel de démarrage rapide
Parcourez en ligne ou téléchargez le pdf Manuel de démarrage rapide pour {nom_de_la_catégorie} 4RF Aprisa SR+. 4RF Aprisa SR+ 2 pages. Demo kit
Également pour 4RF Aprisa SR+ : Manuel (12 pages), Manuel de démarrage rapide (2 pages)
5. Setup the Aprisa SR+ Migration Station
Login using the IP address of either the primary or secondary radio
(do not use the PVIP address for login). All parameters will be
automatically synchronized on both radios.
The Aprisa SR+ has a factory default Terminal Operating Mode of
Remote Station.
A single radio or a Migration Station in the Aprisa SR+ network must
be setup as a base station. The other radios or Migration Stations in
the Aprisa SR+ network are setup as remote stations or repeater
stations.
Set the Ethernet Operating Mode and the Compliance Mode required.
Set the unique radio Network ID to be the same in your entire
network including the Base Station ID.
Set the Aprisa SR+ TX Frequency, RX Frequency, TX Power and
Channel Size to comply with your site license.
Set the Antenna Port Configuration required.
You can now configure the remaining Migration Station and network parameters and settings. For more information, please refer to the 'Aprisa
SR+ User Manual Appendix 1 - Migration Station' available from the 4RF website
Reboot both Primary and Secondary radios and restore the Hardware Manual Lock switch is set to AUTO.
The Aprisa SR+ Migration Station is ready to operate.
6. Monitor the Aprisa SR+ Migration Station signal strength
When the network is installed, the radio signal strength can be
monitored on remote stations by setting the radio to Test Mode.
To enter Test Mode, press and hold the TEST button on front panel
until all the LEDs flash green (about 3 - 5 seconds).
In Test Mode, the LED Display panel presents a real time visual
display of the RSSI. This can be used to adjust the antenna for
optimum signal strength.
Note: The response time is variable and can be up to 5 seconds.
To exit Test Mode, press and hold the TEST button until all the LEDs
flash red (about 3 - 5seconds).
If the network is operating correctly, the LEDs will show:
•
Active radio - the OK, MODE and AUX LEDs will be light green
and the TX and RX LEDs will be solid or flash green.
•
Standby radio - the OK will light green, the MODE LED will
light orange, the AUX LED will light green and the TX and RX
LEDs will light green (steady).
Aprisa SR+ Migration Station Quick Start Guide 1.2.0 © 2021 4RF Limited. All rights reserved. This document is protected by copyright belonging to 4RF
Limited and may not be reproduced or republished in whole or part in any form without the prior written permission of 4RF Limited. While every
precaution has been taken in the preparation of this literature, 4RF Limited assumes no liability or errors and omissions, or from any damages resulting
from use of this information. The contents and any product specifications within it are subject to revision due to ongoing product improvements and
may change without notice. Aprisa and the 4RF logo are trademarks of 4RF Limited. All other marks are the property of their respective owners.
https://www.4rf.com/secure
(login required).
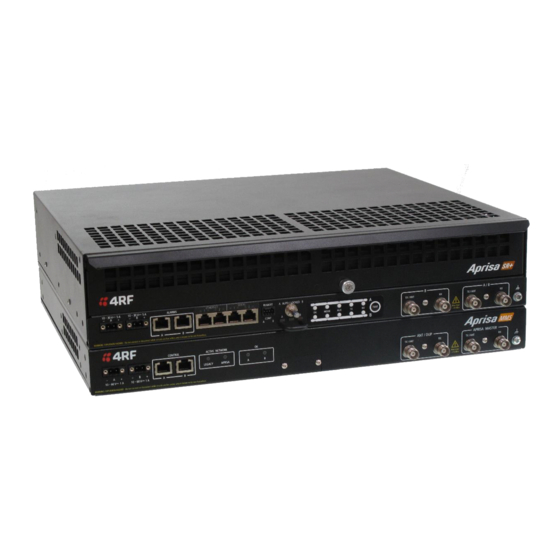
Quick Start Guide
Aprisa SR+ Migration Station
Contents
Follow these steps to setup your Aprisa SR+ Migration Station:
1.
Check the box contents
2.
Install the Aprisa SR+ Migration Station and connect the protection earths
3.
Connect the antenna and apply power to the Aprisa SR+ Migration Station
4.
Connect to the Aprisa SR+ Migration Station
5.
Set up the Aprisa SR+ Migration Station
6.
Monitor the Aprisa SR+ Migration Station signal strength