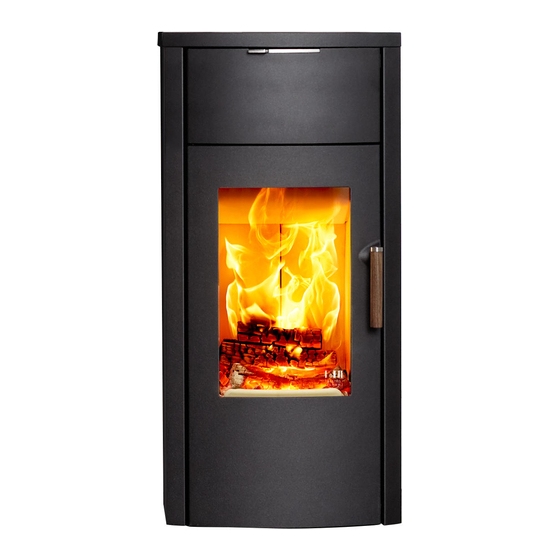
Austro Flamm Jini Xtra Instructions pour l'utilisateur - Page 8
Parcourez en ligne ou téléchargez le pdf Instructions pour l'utilisateur pour {nom_de_la_catégorie} Austro Flamm Jini Xtra. Austro Flamm Jini Xtra 20 pages.

Jini/Jini Xtra
Combustion air
Being the user of the stove you must take care of a
sufficient combustion air supply. Sealed-up windows and
doors may not allow a sufficient combustion air supply or
disturb the draught behaviour of your stove. Please ensure
the additional supply of fresh combustion air if necessary.
For details please consult your specialist retailer. Make sure
that the combustion air intakes are not blocked!
3. CORRECT OPERATION OF YOUR STOVE
Approved fuels
Dry, well cured and natural wood (hardwood preferred),
wood briquettes.
Maximum amount of fuel
Maximum amount of fuel to be added: 1,3 kg wood or
briquettes. Larger amounts of fuel can lead to overheating
and thus damage the stove.
Clean burning
The wood must be dry (relative wood moisture < 15%) and
untreated and the right amount of wood must be burned in
order to ensure a clean fire that releases only small
amounts of emissions.
Startup procedures
During the first 3-4 operations - at nominal heat output -
there may be some odour development and the varnish has
not yet hardened.
Making a fire
For the correct and safe operation of your stove please pay
attention of the chimney developing the necessary feed
pressure. This must especially be considered before the
initial operation (or e.g. after the summer heating break) and
during the mid-season heating periods (e.g. at strong wind,
etc.).
If there is not enough feed pressure, please light only some
paper or small kindling first, in order to "warm up" the stove
and the chimney.
The air inlet must not be covered or closed.
Clean grate, empty ash drawer if necessary (watch out for
ambers!).
Position the lever for the combustion air to the open ("AUF")
position (see fig. 3).
Place 2-3 logs (approx. 0,9 kg in total) crossways in the
combustion chamber (1) with sufficient distance from each
other (min. 2 cm), on top of that place some softwood
chippings (0,4) (2) and some ignition aid and light. '(3) (see
fig. 3)
3
Figure 3:ignite the fire
6
Stove pipe connection
For your own safety stringent laws apply for connecting the
stove pipes to the chimney. Your professional dealer or
distributor knows these laws. Please have your certified
retailer carry out the connection of your stove.
Close the door!
We recommend to let the first load burn down without
changing the air lever position.
As soon as no visible flames are left (only embers in the
combustion chamber), you can put another load of logs
(approx. 1,3 kg) in the combustion chamber if desired.
When reloading the stove please repeat the procedure as
mentioned under "first lighting": air lever position on "AUF"
(= open), open door carefully, place logs, close door.
After a few minutes, when the logs burn well on all sides
(bright, high flames – see fig. 5), you can adjust the heat
output with the air lever (lever on max. position "AUF" =
maximum heat output), the flames should be yellow and
never look blueish or have black tips (otherwise add more
air) – see fig. 4. Never close air supply completely during
operation. (danger of flash-fire!)
The stove door may be opened only for refuelling or
disposing of ashes and is to be closed again afterwards.
2
1
Fig. 4: adjust air lever
Figure 5
english
