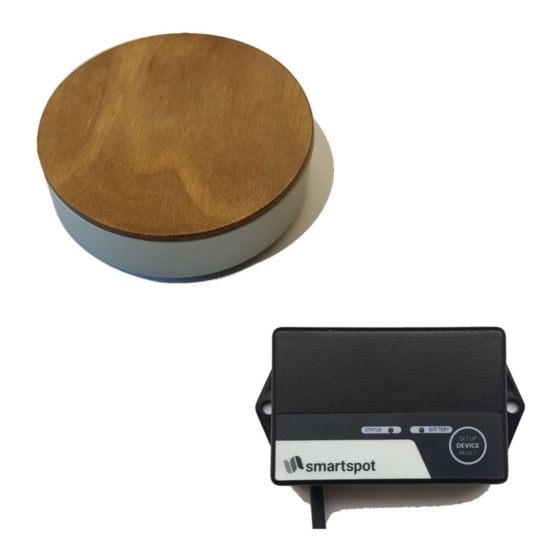
Austroflamm SmartSpot Instructions pour l'utilisateur - Page 10
Parcourez en ligne ou téléchargez le pdf Instructions pour l'utilisateur pour {nom_de_la_catégorie} Austroflamm SmartSpot. Austroflamm SmartSpot 20 pages. Room temperature sensor
Également pour Austroflamm SmartSpot : Instructions pour l'utilisateur (14 pages)

5 Additional functions of the SmartSpot sensor
BLINKING SIGNAL – PROCESSING
As a processing confirmation, the SmartSpot sensor briefly flashes every 3 minutes. The colour and function of this
processing confirmation can be changed. Press the highlighted button „1" permanently and hold down until the
desired colour is on. This feature can also be switched off.
A fast flashing of the LED indicates that the colour setting has been deactivated.
6 LED colour codes and error causes
SmartSpot sensor:
LED status
does not shine
flashes green quickly
flashes yellow
flashes red
no or wrong
temperature display
no connection
measured temperature is too
high
connection gets disrupted
frequently
SmartSpot receiver:
LED status
flashes green slowly
flashes gree quickly
shines green
shines green
blinks red
shines green
shines red
no connection
4
CONFIRMATION:
possible cause
-
insulating strips on the batteries
were not removed
-
missing or empty batteries
-
batterie poles the wrong way
round
-
„processing confirmation" feature
was disabled
-
sensor is looking for a connection
-
batterie low
-
batterie empty
-
SmartSpot is not connected
-
SmartSpot is too far away from
the receiver/display
-
misplacement of the SmartSpot
-
SmartSpot is too far away from
the receiver/display
possible cause
-
no connection with the sensor
-
receiver is looking for a
connection
-
connection to the sensor OK
-
sensor batterie is empty
-
FACTORY reset
-
SmartSpot is too far away
solution
-
remove insulation strips
-
check batteries
-
insert batteries correctly
-
press the highlighted button „1"
long enough to reactivate this
feature
-
also press the button on the receiver
or the display in order to connect
-
batterie status <20%
-
batterie status <10%
-
connect the SmartSpot acc. to the
instructions
-
reduce the distance to the stove
-
avoid direct sun, the immediate
vicinity of electric appliances and
other sources of warmth near the
SMART SPOT
-
reduce the distance to the
receiver/display
solution
-
connect with sensor acc. to the
instructions
-
also press the button on the sensor
in order to connect
-
function OK
-
exchange batterie in the sensor
-
the receiver was set back to factory
setting
-
reduce the distance to the stove
english
