Bender COM465IP Démarrage rapide - Page 4
Parcourez en ligne ou téléchargez le pdf Démarrage rapide pour {nom_de_la_catégorie} Bender COM465IP. Bender COM465IP 4 pages. Condition monitor with integrated gateway
Également pour Bender COM465IP : Manuel de démarrage rapide (8 pages)

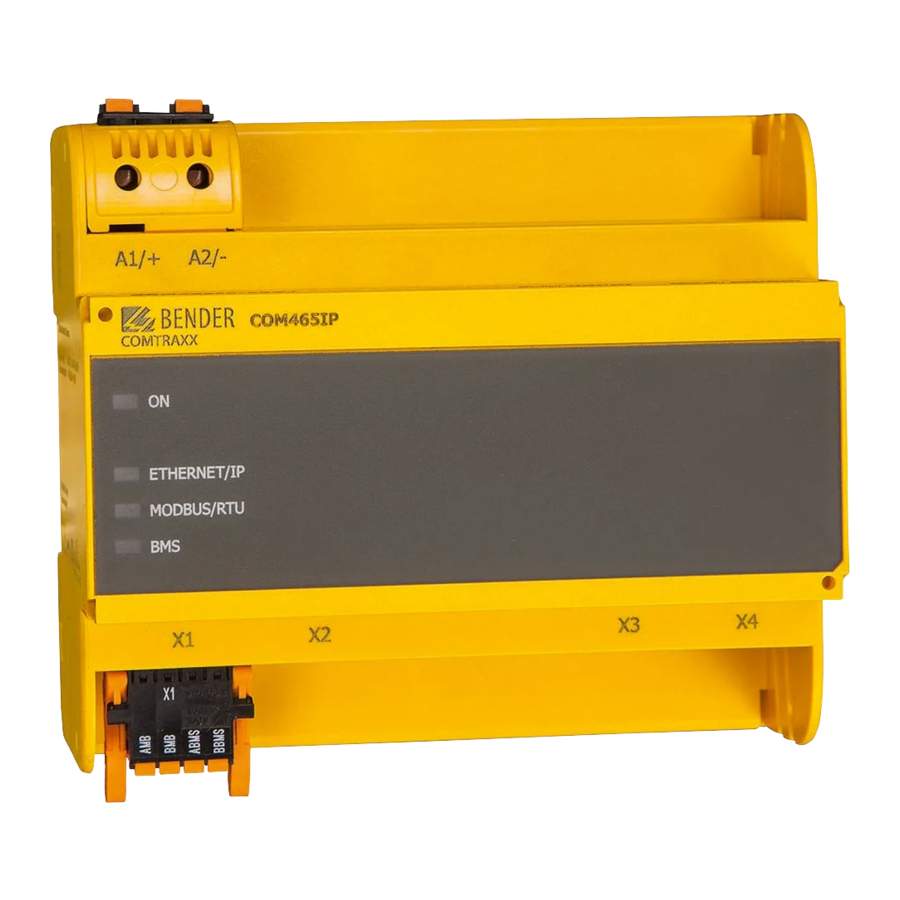
5. Connecting the device
1
A1/+
A2/-
COM465IP
COMTRAXX
ON
ETHERNET/IP
MODBUS/RTU
BMS
X1
X2
X3
2
3
1
Supply voltage: see nameplate and ordering information
2
Interface Modbus RTU
3
BMS bus (Bender measuring device interface)
4
Ethernet port (RJ45) for connection to the PC
network as well as BCOM
5
Termination resistor Modbus RTU switch
6
Termination resistor BMS bus switch
7
Micro USB interface (currently without function)
8
Mini HDMI interface (currently without function)
6. Commissioning the device
1.
Connect supply voltage:
When the device is connected to the supply voltage, the LEDs
light up briefly. During start-up, the LED "ON" flashes. After a
successful start-up, the LED "ON" lights permanently. The
device is now ready for operation.
2.
Start web user interface:
– Open an Internet browser.
– Enter the following IP address:
–> If your PC is in a 192.168.0.0 IT subnet, you can reach the
gateway via the factory-set IP address 192.168.0.254.
–> If your PC is in a different IT subnet, you have to termi-
nate the connection to your network. Connect the gate-
way directly to your PC. You can reach the web user
interface via the second, fixed IP address: 169.254.0.1.
For this purpose, DHCP must be enabled on the PC.
The IP address of the gateway can be set as desired in the web
user interface.
Alle Rechte vorbehalten. Nachdruck und Vervielfältigung nur mit
Genehmigung des Herausgebers. Änderungen vorbehalten!
©
Bender GmbH & Co. KG
Fotos: Bender Archiv.
Bender GmbH & Co. KG
P.O. Box 1161 • 35301 Gruenberg • Germany
Londorfer Straße 65 • 35305 Gruenberg • Germany
Tel.: +49 6401 807-0 • Fax: +49 6401 807-259
E-mail: [email protected] • www.bender.de
EN-2
OFF
ON
OFF
ON
R
R
MB
BMS
X4
4
5
6
For UL applications, the following must be observed:
– Maximum ambient temperature: 55°C
– Only 60/75 °C copper wires must be used
BMS connection: Connect the terminals ABMS and BBMS (3) to
1.
the BMS bus (A to A, B to B). A suitable cable type is the J-Y(St)Y
min. 2x0.8. If the COM465IP is located at the end of the BMS
bus, set the termination switch of the device (6) to "ON".
7
8
Connection Modbus RTU: Connect the terminals AMB and
2.
BMB (2) to the Modbus RTU (A to A, B to B). A suitable cable
type is the J-Y(St)Y min. 2x0.8. If the COM465IP is located at the
end of the bus, set the termination switch of the device (5) to
"ON".
3.
Connection to PC and BCOM: Connect Ethernet cable (RJ45) to
the COM465IP (4) and then connect to the PC network.
Plug X1
4.
Connection of voltage supply: Connect terminals A1/+ and
A2/- (1) to a supply voltage (see nameplate). The voltage must
Plug X2
be supplied via a 6 A fuse.
COM465IP-24V:
DC 19.2...28.8 V
Use power supply units with protective separation only!
COM465IP-230V:
Plug X3
AC/DC 19.2...276 V 50...60 Hz Connection polarity is arbitrary.
Plug X4
3.
Adjust the settings:
Adjust all address data of the gateway. Always configure the
BCOM interface (system name, subsystem, device address).
The BCOM device address is also the address on the internal
BMS bus.
4.
Integrate devices into the system:
– BMS devices are detected automatically
– BCOM devices are detected automatically
– Modbus devices need to be configured. Start the alternative
Web user interface (with Silverlight). Then select "Tools" >
"Modbus" > "Manage devices".
5.
Test connection^:
Connect the gateway to the PC network again. Start web user
interface. All other settings (individual texts, e-mail notifica-
tions, etc.) can now be adjusted.
All rights reserved. Reprinting and duplicating only with
Consider connection polarity!
permission of the publisher. Subject to change!
©
Bender GmbH & Co. KG
Photos: Bender archives.
COM465IP_D00217_01_Q_DEEN/01.2016
