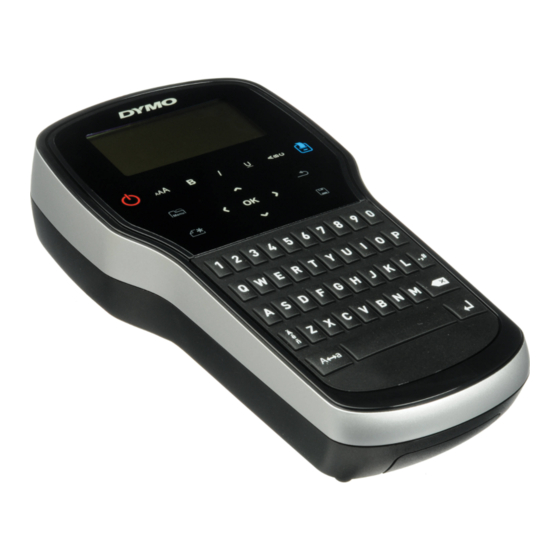
Dymo LabelManager 280 Manuel de référence rapide - Page 5
Parcourez en ligne ou téléchargez le pdf Manuel de référence rapide pour {nom_de_la_catégorie} Dymo LabelManager 280. Dymo LabelManager 280 15 pages. Quick reference guide
Également pour Dymo LabelManager 280 : Manuel de l'utilisateur (17 pages)

Charging the Battery
A charging adapter is included with your label maker for
recharging the battery pack. Charging the battery pack will
take approximately three hours; however, after charging
for about 10 minutes, the label maker can be used to print
labels.
The charging adapter is only used for recharging the
battery pack; the charging adapter cannot be used to
power the label maker.
To recharge the battery
Plug the charging adapter into the
1
power connector on the top of the
label maker. See Figure 2.
Plug the other end of the charging
2
adapter into a power outlet.
Make sure to read the Li-ion Safety
Precautions found on page 8.
Inserting the Label Cassette
Your label maker uses DYMO D1 label
cassettes.
To insert the label cassette
Lift the back cover of the label maker to open the label compartment.
1
Make sure the tape and ribbon are taut across the
2
mouth of the cassette and that the tape passes
between the label guides. See Figure 3.
If necessary, turn the ribbon rewind spool
clockwise to tighten the ribbon.
Insert the cassette with the label facing out and
3
positioned between the label guides. See Figure 3.
Press firmly until cassette clicks into place. See
4
Figure 4.
Close the back cover.
5
Ribbon
rewind
spool
Label
guides
Figure 3
Figure 2
Click!
Figure 4
3
