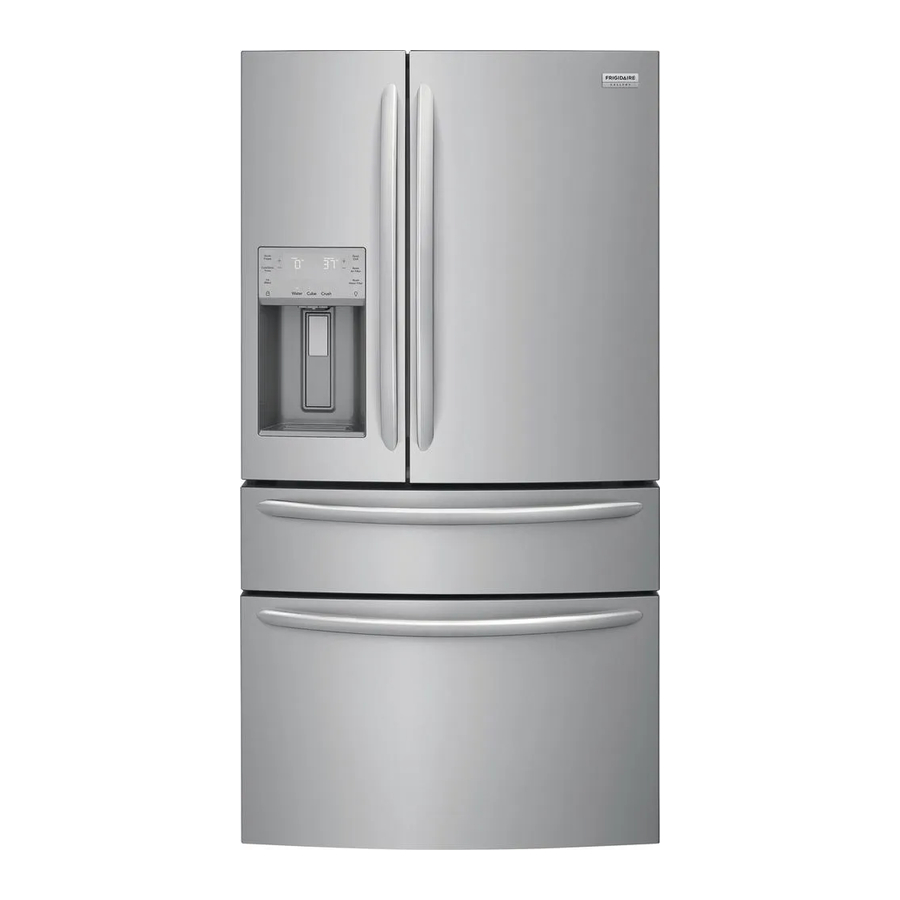
Frigidaire Refrigerator Manuel d'instructions de sécurité importantes - Page 6
Parcourez en ligne ou téléchargez le pdf Manuel d'instructions de sécurité importantes pour {nom_de_la_catégorie} Frigidaire Refrigerator. Frigidaire Refrigerator 13 pages. Ice & water - automatic defrost
side by side models
Également pour Frigidaire Refrigerator : Manuel du propriétaire (20 pages), Fiche technique de service (2 pages), Fiche technique de service (2 pages), Instructions d'installation (3 pages), Instructions d'installation (2 pages), Fiche technique de service (2 pages), Instructions d'installation (3 pages), Fiche technique de service (2 pages), Fiche technique de service (2 pages), Fiche technique de service (2 pages), Fiche technique de service (2 pages), Manuel d'utilisation et d'entretien (18 pages), Fiche technique de service (2 pages), Fiche technique de service (2 pages), Manuel d'utilisation et d'entretien (14 pages), Manuel d'utilisation et d'entretien (19 pages)

- 1. Table of Contents
- 2. Important Safety Instructions
- 2. Child Safety
- 2. Electrical Information
- 3. Installation
- 4. Door Removal Instructions
- 5. Handle Installation
- 6. Connecting the Water Supply
- 7. Ice Service
- 8. Controls
- 9. Normal Operating Sounds and Sights
- 10. Care and Cleaning
- 11. Before You Call
- 12. Major Appliance Warranty
