Gage Bilt GB713 Manuel d'instructions original - Page 14
Parcourez en ligne ou téléchargez le pdf Manuel d'instructions original pour {nom_de_la_catégorie} Gage Bilt GB713. Gage Bilt GB713 20 pages.
Également pour Gage Bilt GB713 : Manuel d'installation (14 pages), Manuel d'instructions original (18 pages)
WARNING:
Disconnect tool from its power source before actuator removal or installation. Severe personal injury may occur if
power source is not disconnected.
CAUTION:
Actuator assembly-air (704130) can break if not careful.
CAUTION:
Do not over tighten actuator assembly-air (704130). Snug tighten only.
REMOVING ACTUATOR ASSEMBLY-AIR (704130)
1.
Remove actuator lever assembly (704343) including pin-slotted (400608) from the handle assembly (744129).
2.
Insert a 5/8" open end wrench / adjustable wrench around actuator assembly-air (704130).
3.
Loosen the actuator assembly-air (704130).
4.
Remove wrench. Unthread and remove the actuator assembly-air (704130) with fingers
from the handle assembly (744129).
INSTALLING ACTUATOR ASSEMBLY-AIR (704130)
1.
Apply Teflon® tape onto threads of actuator assembly-air (704130) one to two wraps.
2.
Thread the actuator assembly-air (704130) all the way into handle assembly (744129) with fingers.
3.
Insert and turn 5/8" wrench / adjustable wrench and snug tight approximately 1/4-1/2 turn.
4.
Re-attach actuator lever assembly (704343) including pin-slotted (400608) to the handle assembly (744129).
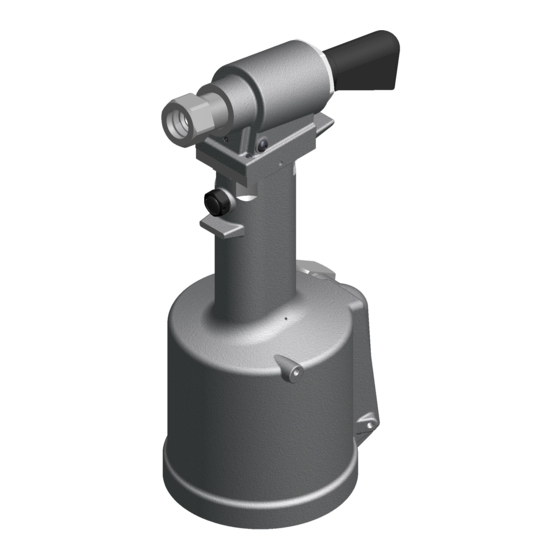
GB713 Installation Tool
OVERHAUL
ACTUATOR ASSEMBLY-AIR
14
7/11 REV 5/22