Gage Bilt GB585 Installations - Page 8
Parcourez en ligne ou téléchargez le pdf Installations pour {nom_de_la_catégorie} Gage Bilt GB585. Gage Bilt GB585 11 pages. Installation tool
Également pour Gage Bilt GB585 : Manuel d'instructions original (20 pages)
TROUBLESHOOTING
Providing all maintenance conditions have been met, follow this systematic approach to diagnosis.
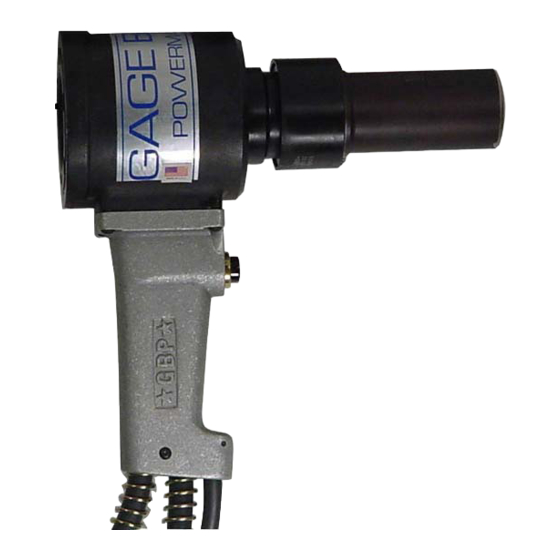
1. NO OPERATION WHEN SWITCH (585010)/ACUATOR ASSY (480137) IS DEPRESSED
a.) Check Powerunit power source.
b.) Control cord may be loose or damaged.
c.) Faulty switch; Replace.
d.) Check hydraulic couplings; repair or replace.
2. SLOW OR PARTIAL OPERATION WHEN SWITCH (585010)/ACUATOR ASSY (480137) IS DEPRESSED
a.) Low hydraulic pressure. Check powerunit, adjust.
b.) O'ring (403881) located on the piston assy (585123) could be worn or damaged. Replace.
c.) Excessive wear or scoring on moving parts. Check and replace faulty parts.
d.) Check hydraulic couplings; repair or replace.
3. TOOL OPERATES IN REVERSE
a.) Tool stops in back position. Hydraulic hoses are reversed. Correct.
4. HYDRAULIC OIL OVERHEATS
a.) Powerunit motor rotation reversed. Electrical connections reversed. See powerunit instruction manual.
b.) Restrictions in either hydraulic lines, hoses or couplings. Check and tighten, clean or replace. ( See hydraulic thread preparation pg.4)
5. OIL LEAKAGE
a.) Hydraulic oil leaks from connections. Tighten threaded connections. Do not use Teflon® tape.(See hydraulic thread preparation pg.4)
b.) Oil leaks from tool. Determine source of leak and replace worn or defective o'rings and back-up rings.
6. PINTAIL GROOVES STRIPPED DURING PULL STROKE
a.) Nose Assembly must be pushed onto fastener fully.
b.) Chips may have collected in chuck jaws. Disassemble nose assembly, clean jaws in mineral spirits using a sharp pointed ob ject.
c.) Chuck jaws may be worn or damaged. Replace.
d.) Pintail too short for jaws to properly grip. Select proper grip length fastener.
e.) Excessive gap between sheets. Reduce gap before attempting to install fastener.
7. NOSE ASSEMBLY WON'T ACCEPT FASTENER PINTAIL
a.) Spent fastener stem may be jammed in pulling head. Disassemble and check for worn or broken parts in nose assembly.
Replace defective parts and clean before reassembling.
OVERHAUL
WARNING:
Disconnect tool from its power source before performing overhaul.
WARNING:
Tool must be maintained in a safe working condition at all times and examined on a daily basis for damage or
wear. Any repair should be done by qualified personnel trained on Gage Bilt procedures.
WARNING:
When operating, repairing or overhauling tool, wear approved eye protection. Do not look in front of tool or
rear of tool when installing fastener.
If a tool is performing poorly or leaking badly, a complete overhaul may be necessary. Service Kit (585001) contains a complete set
of o'rings, back-up rings and screws.
Perform overhaul in a clean, well lit area using care not to scratch or nick any smooth surface that comes in contact with an o'ring.
Use of Lubriplate® (Gage Bilt part no. 402723) or other lubricant is recommended during reassembly to prevent tearing or dis-
torting of o'rings.
Disconnect hydraulic hose assy's (505034) and control cord on GB585 (585034) or air hose on GB585A (208126) from powerunit.
Remove hydraulic coupling assy (585037) from hydraulic hose assy's (505034) and drain. Remove retaining sleeve (505024), split
ring set (585002) and nose assembly. Remove button head cap screws (400047) and locator (586124) from cylinder cap assy
(585226). Using cylinder cap wrench (585150), remove cylinder cap assy (585226).
Push piston assy (585123) out rear of tool and remove relief valve on GB585 (585022) or GB585A (585056). Remove retaining ring
(401521) and push adapter assy (585105) out the rear of head cylinder (585204). Using hex key ejector (750033), unscrew ejector
gland assy (762006) from piston assy (585123) and remove pintail ejector (505022). Using a small blunt object, remove o'rings, back
-up rings and quad ring from components.
Clean parts in mineral spirits or other o'ring compatible solvent being sure to clean o'ring grooves. Inspect components for scor-
ing, excessive wear or damage.
Reassembly sequence is opposite of disassembly. Be sure relative positions of o'rings and back-up rings are as shown in explod-
ed view and part list. Relief valve on GB585 (585022) or GB585A (585056) must be installed with four flats towards the rear of the
head cylinder. When installing cylinder cap assy (585226) make sure flats on cylinder cap assy (585226) and flats on head cylinder
(585204) line up flush so locator (586124) will sit level between cylinder cap assy (585226) and head cylinder (585204). Coat hose
fitting threads with a non-hardening Teflon thread compound such as Slic-tite® (Gage Bilt part no. 403237).
TAPE.
8
DO NOT USE TEFLON
REV. 1/15