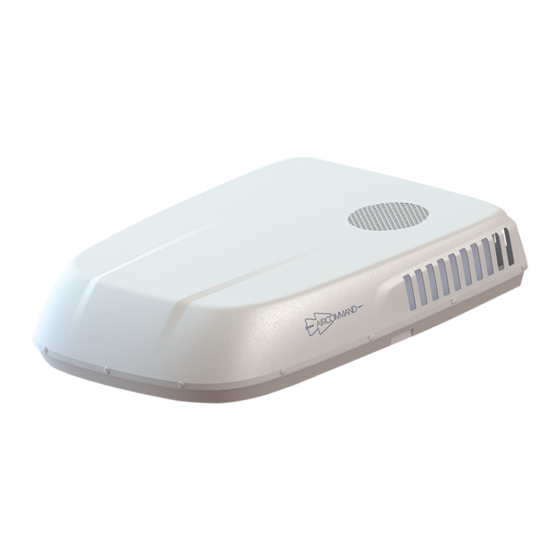
Aircommand 8100001 Manuel d'utilisation - Page 8
Parcourez en ligne ou téléchargez le pdf Manuel d'utilisation pour {nom_de_la_catégorie} Aircommand 8100001. Aircommand 8100001 19 pages.

Ibis 3 Owners Guide
2. Attach weather collar to roof
Locate the weather collar (Item #1).
The collar has one side marked "THIS SIDE
UP". This top side will point to the sky. Figure
3
Figure 3 - Top side of weather collar showing THIS SIDE
UP also has 4 grey foam strips around each bolt hole
The other side, the underside will be sealed
onto the roof. Figure 4
Figure 4 - The underside of the weather collar
Select a suitable sealant for bonding the
weather collar to the caravan roof. The
collar is made from glass filled Nylon-6,6.
Consult your specialist adhesive supplier about
the correct sealant to use for your application.
Follow all directions on the MSDS particularly
those regarding PPE, safe use & disposal.
Apply the recommended sealant to the underside
of the weather collar
Figure 5 - Recommended sealant path
Revision V1
Figure 5
Flip the collar over and firmly press the sealant
side to the roof of the caravan.
Apply a circle of sealant around each of the four
Figure 6
bolt holes.
Figure 6 - Sealant around bolt holes on the top side
The weather collar is now ready for the roof top
unit.
3. Position roof top unit
Use app
roved methods to lift the unit – 46kg.
Position the unit over the 360 x 360mm hole with
the weather collar installed.
Lower the unit so that it engages with the collar.
Figure 7– Lower & engage unit
Move inside the caravan.
Note position of the electrical power supply
entering the 360 x 360 hole. If the roof is thin (25-
30mm) you may have to put a notch in the duct &
brace part in order to lead the cable through.
Page 8 of 19
Figure 7
