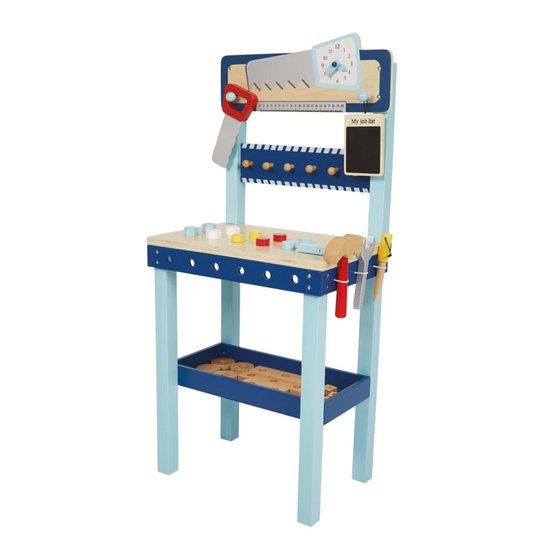
Great Little Trading Fix It Work Bench Manuel - Page 4
Parcourez en ligne ou téléchargez le pdf Manuel pour {nom_de_la_catégorie} Great Little Trading Fix It Work Bench. Great Little Trading Fix It Work Bench 4 pages.

Hardware for Step 3:
4x #1 22mmL screws
STEP 3:
Attach worktop (F) using 4 x screws
(#1). When attaching the worktop,
ensure the front edge aligns
with the silver panel (C).
I
G
H
G
F
C
Hardware for Step 4:
4x #1 22mmL screws
STEP 4:
Insert peg panel (H) between 2 x
uprights (G). Attach saw panel (I) to
uprights using 4 x screws (#1).
Hardware for Step 5:
4x #1 22mmL screws
STEP 5:
Attach assembled top section
to assembled lower section
using 4 x screws (#1).
Copyright© 2016 G.L.T.C. Ltd. All rights reserved.
4
Great Little Trading Company and GLTC are registered trade marks of G.L.T.C. Limited.
O
N
L
