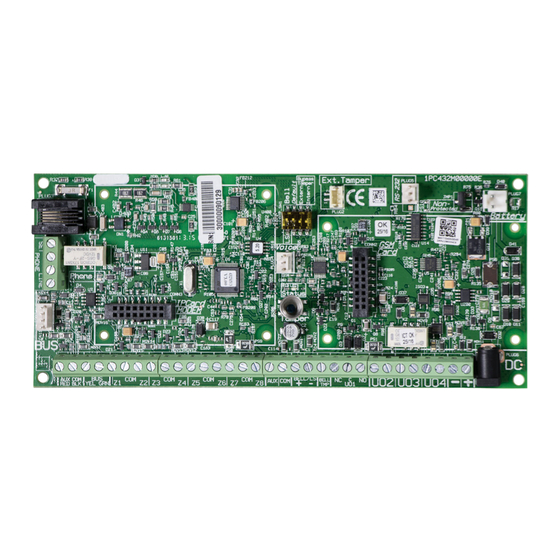
2gig Technologies Vario Manuel d'installation rapide - Page 13
Parcourez en ligne ou téléchargez le pdf Manuel d'installation rapide pour {nom_de_la_catégorie} 2gig Technologies Vario. 2gig Technologies Vario 18 pages. Voice module
Également pour 2gig Technologies Vario : Manuel d'instructions d'installation (6 pages), Manuel d'utilisation rapide (10 pages)

2GIG Vario Quick Install Guide
Wireless Zones
Each of the 50 zones in the 2GIG Vario system can be defined as a wireless zone.
1. Allocate a Wireless Expander
1. From the Installer menu, select ⑦ ① ② ⓪ ⑤ (Install > BUS Device > Manual > WL Expander).
2. Set the receiver ID (1 or 2), use the
3. If the receiver is mounted inside the 2GIG Vario system box, select Y to bypass the box tamper. Press
Receiver."
2. Calibrate the Receiver
For successful communication, the strength of the signal should be higher than the noise threshold level, measured in a process called calibration.
1. From the Installer menu, select ⑦ ② ① (Install, WL Device, RX Calibration).
2. Select the wireless expander and press
3. Use the
key to choose Y (Yes) to re-Calibrate the wireless expander and press
NOTE:
The calibration measurement shows the amount of background noise that the receiver can hear on the same frequency as the 2GIG
wireless sensors. This noise could be from neighboring devices of another system or from other nearby devices operating on the same
frequency. These are "unwanted" signals that the 2GIG Vario system wireless expander must be taught not to listed to. The threshold (set
above) is the absolute minimum signal strength needed to be heard from a wireless device in order for the receiver to effectively hear it.
3. Allocate Wireless Zones
Each wireless device must identify itself to the system receiver in a process called enrollment. Enrollment can be performed by sending an RF signal from
each device, or by entering the device's unique serial code into the system. Enrollment can be done locally using the keypad or remotely using the
configuration software. The following steps describe quick enrollment by RF signal using a keypad.
1. From the Installer menu, select ⑦ ② ② ① (Install, Wireless Devices, Allocate, By RF).
2. Use the numeric keys to enter the desired zone number and press
3. The wireless receiver is in learn mode.
4. Trigger the sensor to be learned.
5. Repeat steps 2 and 3 until all required wireless zones have been enrolled.
6. Enter the wireless zone attributes (see "Zone Attributes" on the previous page).
Communication Method
1. From the main installer programming menu, select ⑤ ① (Communication > Method).
2. Select each method (PSTN or IP through third party providers) and define its parameters.,
NOTE:
For IP/CELL communication, a supported backend provider Cell/IP Module must be installed and configured. Please see
documentation for the specific communication device.
Report to Monitoring Station
You can define up to three monitoring station accounts and several associated parameters that define the nature of communication, event reporting, and
confirmation between the system and the monitoring station.
1. From the main installer programming menu, select ⑤ ② (Communication > MS).
2. Select ① (Report type [Voice]) for each monitoring station and define its parameters.
Copyright © 2016 Nortek Security & Control LLC
to set the type to WM, and press
.
.
to confirm.
.
and move to "2. Calibrate the
13
