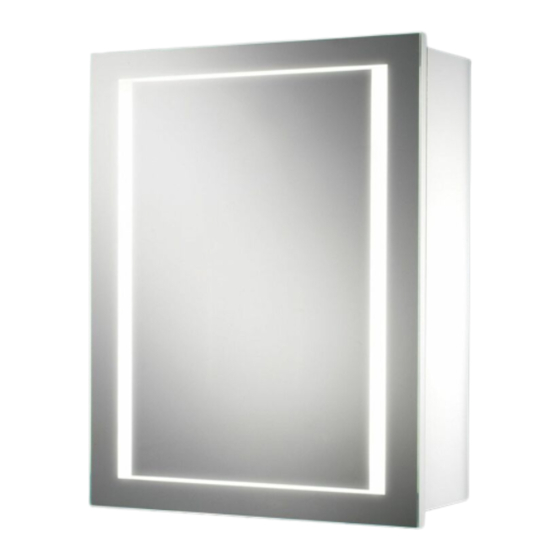
HiB orlando 9102300 Instructions de fixation - Page 2
Parcourez en ligne ou téléchargez le pdf Instructions de fixation pour {nom_de_la_catégorie} HiB orlando 9102300. HiB orlando 9102300 2 pages. Led back-lit cabinets

defined
height
fixing preparation
1) Position the cabinet in a suitable location,
(according to Figure 1 on the back page),
ensuring that the domestic electrical mains
supply is within reach of the electrical
connection point of the cabinet. Carefully
mark the position of the top of the cabinet
using a soft pencil.
2) Remove the cabinet from the wall and
using a spirit level, mark the position of the
two mounting points (as shown above).
3) Before drilling, ensure there are no
hidden cables or pipes behind the mounting
points. Drill the required holes in the marked
positions. If drilling through tile, use a
user
wall mounting
ceramic drill bit. Insert the wall plugs level
with the surface of the wall. If fi tting to a tiled
surface, wall plugs should be inserted below
the tile surface to avoid cracking. NB. For
plasterboard walls, specialist fi xings should
be purchased, available from any DIY or
hardware store.
4) Insert the hook screws into the wall plugs.
5) This cabinet is provided with an electrical
supply cable already fi tted. This cable
should be connected to the household
electrical circuit, and connections should
be made in accordance with the latest IEE
regulations. This is a Class II product and
2
1
securing to wall
need not be connected to Earth. Ensure
the domestic electrical mains supply to
which the product is being connected is
turned off. Connect the domestic mains
supply according to Figure 2 on the back
page.
6) Hang the cabinet on the wall ensuring
that it is fi rmly located on both hook screws.
Adjust the bottom screw (1) to level the
cabinet. Fix the cabinet to the wall fi rmly by
tightening the front screw (2).
7) The hinge can be adjusted in order to
reposition the door correctly. See diagrams
A, B and C for further information.
A
B
C
door adjustment
