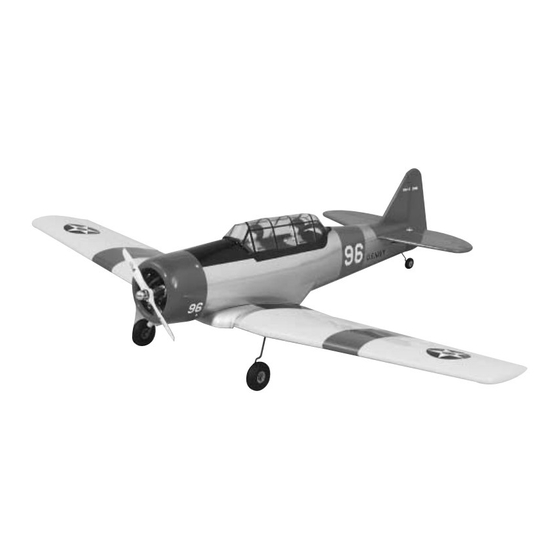
GREAT PLANES AT-6 Texan Manuel d'instruction - Page 13
Parcourez en ligne ou téléchargez le pdf Manuel d'instruction pour {nom_de_la_catégorie} GREAT PLANES AT-6 Texan. GREAT PLANES AT-6 Texan 20 pages. Legendary warbirds custom-wood series

5. Drill the locations for the cowl mounting screws using a
1/8" (3mm) drill bit. Mark the locations on the cowl mounting
blocks. Use a 3/32" (2.4mm) drill bit to drill into the blocks.
Install the screws and then remove them. Wick thin CA into
the holes to harden the wood, which will prevent the screws
from stripping the underlying wood.
6. Use 1/2" (13mm) squares of fiberglass cloth (not included)
to make reinforcements behind the holes of the cowling.
7. Using card stock, mark the positions for the glow plug
and needle valve. Install the cowl, and transfer the locations
to the cowl. Carefully trim the cowl, removing small
amounts of material as you progress.
Note: If your engine's carburetor is inaccessible with the
cowl in position, now would be a good time to add a Great
Planes Fuel Filler Valve (not included, GPMQ4160) to the
side of your aircraft. Instructions for installation are included
with the valve.
8. Mount the finished cowl with four #4 x 1/2" Sheet
Metal Screws and four #4 Washers.
9. Attach the muffler of your choice to the engine, and
trim the cowling so it can exit.
10. Attach the Wing Tips to the wing using medium CA.
Leave a 1/16" (1.5mm) gap between the Aileron and Wing Tip.
FINISH THE COCKPIT
1. Carefully trim the canopy along the cut lines with
scissors or Lexan® shears. Test fit the canopy on the fuse
as you proceed, making small adjustments as required for
a good fit.
2. Paint the framework on the outside of the canopy
using black paint. Test the paint on a sample of the canopy
material to make sure the paint is compatible. Straight out
of the spray can, Top Flite LustreKote
for painting the clear plastic that your canopy is made from
and will eventually deform it. But, if you have an airbrush, it
is possible to paint your canopy with LustreKote. However,
you must use the following procedure. Spray an ounce or
two of LustreKote through a tube (such as a large drinking
straw or a brass tube) into a container. Let it sit for about an
hour or two to allow the damaging elements to "boil off."
Using an air brush, you may now spray your canopy with
your specially prepared LustreKote. For airbrushing, we
recommend thinning LustreKote with lacquer thinner. If you
prefer to spray your canopy frame directly from a spray can,
we have had success with Pactra Formula U and Chevron
paint. Always test your painting methods on leftover
plastic before you try it on your model!
3. Paint the exposed wood of the cockpit with black
paint. You can use Top Flite LustreKote without any special
preparations to the paint or the model. Just make sure to
mask off any areas you do not want painted. Install pilots if
so desired, after painting.
4. Roughen the bottom 1/8" (3mm) of the inside canopy
edge, being careful not to scratch any exposed areas. Glue
the canopy into position with 6-minute epoxy or R/C-56 glue.
CONTROL THROW ADJUSTMENT
By moving the position of the clevis at the control horn
toward the outermost hole, you will decrease the amount of
throw of the control surface. Moving it toward the control
surface will increase the amount of throw. If these
adjustments don't accomplish the job, you may need to
work with a combination of adjustments by also
repositioning the pushrod at the servo end. Moving the
pushrod towards the center of the servo horn will decrease
the control surface throw – outward will increase it.
13
is not recommended
®
