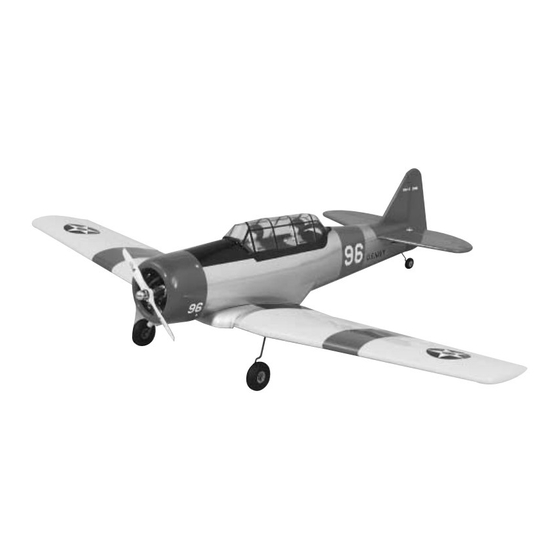
GREAT PLANES AT-6 Texan Manuel d'instruction - Page 6
Parcourez en ligne ou téléchargez le pdf Manuel d'instruction pour {nom_de_la_catégorie} GREAT PLANES AT-6 Texan. GREAT PLANES AT-6 Texan 20 pages. Legendary warbirds custom-wood series

distance. Measure from the same point to the opposite wing
tip, and compare it to the first measurement. If the
measurements are not the same, adjust the wing and
remeasure until they are equal. Place a mark on the wing
and fuselage so it can be repositioned accurately for the
following steps.
2. Remove the covering from the wing center section
where the wing bolts will pass through the wing.
3. Bolt the wing to the fuselage using the 1/4-20 x 2"
Nylon Bolts. Check the alignment of the wing and enlarge
the holes in the wing if necessary to allow the wing to be
shifted to match the alignment marks.
INSTALL THE TAIL COMPONENTS
1. Remove the covering on the fuselage for the
Horizontal Stabilizer. Slide the stabilizer into position, and
check the alignment as shown in the photo.
2. Mount the wing to the fuselage using the nylon bolts.
Stand back 8 to 10 feet (2.5 to 3 meters) and view the
model from the front and rear. The stabilizer tips should be
equally spaced above the level of the wing. If not, lightly
sand the high side of the stab saddle to correct the
problem. Work slowly and check the alignment often.
3. When the alignment looks good, mark the outline of the
fuselage onto the stabilizer. Remove the stabilizer, and trim
the covering 1/32" (.8mm) inside of the lines, being careful
not to cut into the underlying wood. Slide the stabilizer
back into the fuselage, recheck the alignment, and wick thin
CA along the joint between the stabilizer and fuselage.
4. Test fit the Fin in the slot at the aft edge of the
fuselage. The trailing edge of the fin must be flush with the
aft edge of the fuselage. Draw a line along the bottom of
the fin at the fuselage and remove the covering 1/32"
(.8mm) below the line, being careful not to cut into the
underlying wood. Use 30-minute epoxy to glue the fin in
position. Work the epoxy into the slot in the fuselage, filling
any loose-fitting joints between the fuselage and stabilizer.
Check the alignment of the fin to the stabilizer with a
triangle, then secure it in position with masking tape until
the epoxy has cured. Double check the alignment of the fin
with the stabilizer while the epoxy cures.
5. Drill a 1/8" (3mm) hole 1" (25mm) up from the bottom
of the Rudder. Cut a groove down from the hole to the
bottom for the plastic bushing on the Tail Gear Assembly
to ride in. Apply petroleum jelly to the wire and work it into
the plastic bushing. Use 6-minute epoxy to glue the tail gear
assembly into the rudder.
6
