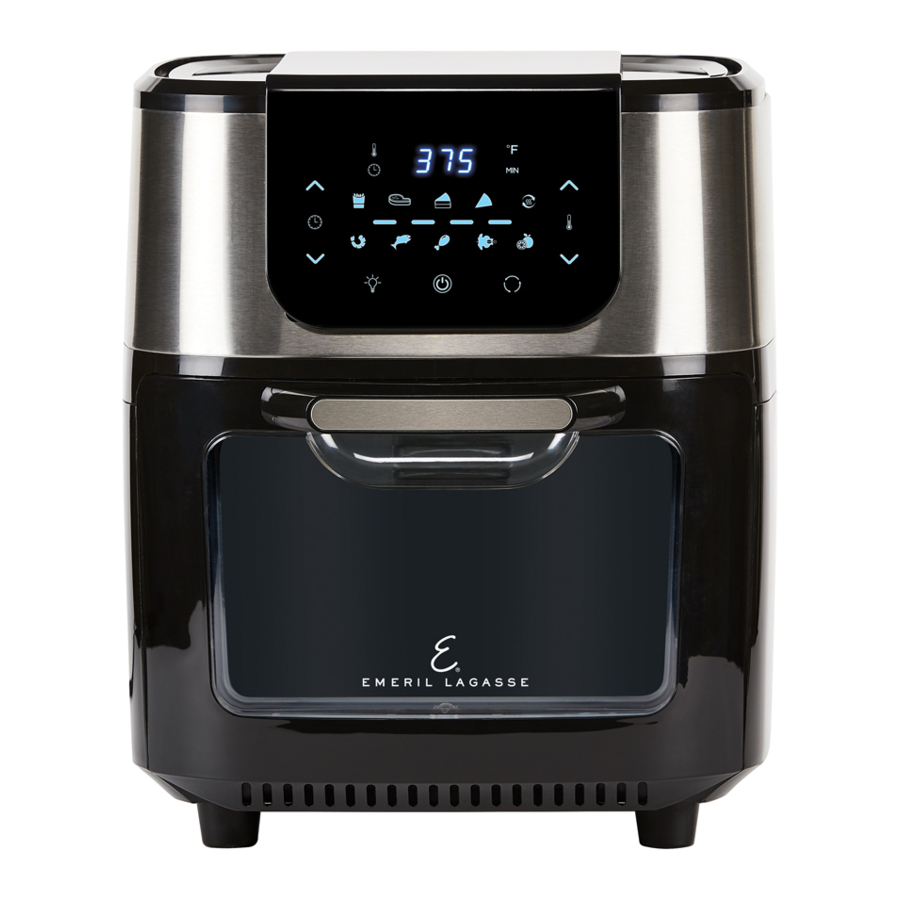
Emeril Lagasse AirFryer Pro RA-002S Manuel du propriétaire - Page 5
Parcourez en ligne ou téléchargez le pdf Manuel du propriétaire pour {nom_de_la_catégorie} Emeril Lagasse AirFryer Pro RA-002S. Emeril Lagasse AirFryer Pro RA-002S 11 pages.

Using the Accessories
Placing Crisper Trays
1. Insert the Drip Tray into the bottom of the Unit
(FIG. A).
2. Place Crisper Trays into Unit by sliding them through
the side grooves and onto the back lip (FIG. B).
3. Place the Crisper Trays closer to the top heating
element for faster cooking and added crisp.
4. Rotate the Crisper Trays mid-cycle for even cooking.
Placing Round Basket
1. Insert the Drip Tray into the bottom of the Unit (FIG. A).
2. Slide the Round Basket onto the rails in the center of the
Unit (FIG. C).
3. Insert the shaft attached to the left side of the Round Basket
into the Rotisserie Socket on the left side of the Unit. Then,
insert the shaft on the right side of the Round Basket into
the right side of the Unit. Ensure that the Round Basket's
shaft is secure inside the Rotisserie Socket.
Removing Round Basket
& Rotisserie Spit
1. Using the Fetch Tool, hook the bottom of the left
and right sides of the shaft attached to the Round
Basket or Rotisserie Spit (FIG. D).
2. Pull the Round Basket or Rotisserie Spit slightly
to the right to disconnect the accessory from the
Rotisserie Socket.
3. Carefully pull and remove the Round Basket or
Rotisserie Spit from the Unit.
8
6-Quart Emeril Lagasse AirFryer Pro
™
FIG. A
FIG. B
FIG. C
FIG. D
NOTE: Some accessories may not be included
with purchase.
Using the Accessories
Rotisserie Shaft & Skewer Racks
1. Place the two Skewer Racks at each end of the
Rotisserie Shaft. Make sure the Set Screws are on
the outer side of the Rotisserie Shaft (FIG. E).
2. Slightly tighten the Set Screws. Do not overtighten
because you may need to adjust the tightness after
you insert the Skewers.
3. The Rotisserie Shaft can be used alone or with
the Skewers.
Rotisserie Spit Assembly
& Insertion
1. Slide a Skewer into an open slot on the Skewer Rack
with the clip facing toward the Rotisserie Shaft.
2. Guide the sharp end of the Skewer through the hole
on the opposite Skewer Rack and push the clip
through the hole near the slot until the Skewer is
secure (FIG. F).
3. Repeat steps 1–2 uniformly around the Skewer Rack.
Ensure the Skewers are evenly spaced (FIG. G).
4. Tighten the Set Screws to make sure they are secure.
5. Use caution while inserting the Spit into the Unit
to prevent getting poked by the Skewer ends.
6. Open the door of the Unit. Slide the Rotisserie Spit
onto the rails in the center of the Unit.
7. Insert the shaft attached to the left side of the
Rotisserie Spit into the Rotisserie Socket on the left
side of the Unit. Then, insert the shaft on the right
side of the Rotisserie Spit into the right side of the
Unit. Ensure that the Round Basket's shaft is secure
inside the Rotisserie Socket.
FIG. E
FIG. F
FIG. G
9
6-Quart Emeril Lagasse AirFryer Pro
™
