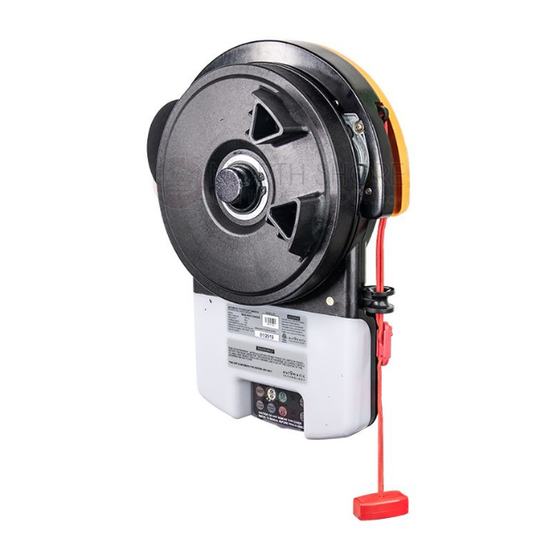
Automatic Technology GDO-6 EasyRoller Manuel du propriétaire - Page 15
Parcourez en ligne ou téléchargez le pdf Manuel du propriétaire pour {nom_de_la_catégorie} Automatic Technology GDO-6 EasyRoller. Automatic Technology GDO-6 EasyRoller 20 pages. Rolling door openers
Également pour Automatic Technology GDO-6 EasyRoller : Instructions d'installation (2 pages), Manuel d'utilisation rapide (6 pages)

10. Opener Maintenance
10.4 Opener Maintenance
To ensure a long and trouble free life for your opener
the following is recommended:
• Monthy: Run the Safety Testing procedures in
Section 7 to ensure garage door is fit for use.
NOTE:
If the door does not operate smoothly, call
your nearest door professional.
10.5 Service Indicator
While the door opener does not require regular
servicing, to function correctly the door must be
in good operating condition. As a reminder the
GDO-6 EasyRoller
has a built in maintenance
®
counter. This counter has a factory default of 3000
cycles, which is the recommended service interval.
When this counter expires the yellow SERVICE LED
will light up and opener beep three times at the start
of each cycle
(Fig.
10.1).
light will flash and opener beep five times at the end
of open cycle (when the door is fully open).
These warning signals will self extinguish after 30
cycles.
When this service counter is triggered it is
strongly recommended you contact your garage
door dealer to arrange a door service. See Section
13 for Recommended Service Schedule.
However, if you choose not to have your door
serviced the counter can be reset simply by pressing
the LIMIT SET button.
10.6 Removing the Battery From the
Transmitter
(Battery Type: 3V Lithium Battery CR2032).
Use a non-metallic object (e.g. pen) to remove the
battery.
(Fig. 10.2).
To test the battery is working,
press and hold a transmitter button;
Light Status
Solid
Flashing
No light
Fig. 10.3
In addition the courtesy
(Fig. 10.3).
Battery Status
OK
Requires replacement
Requires replacement
®
GDO-6 EasyRoller
Home Owner's Manual
BEEP
Fig. 10.1
REPLACE BATTERY WITH CR2032 ONLY
Fig. 10.2
15
Use finger nails
to lift both tabs
and release
battery
