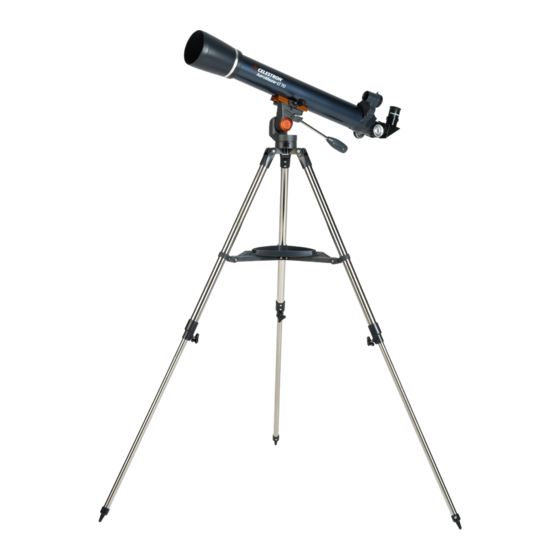
Celestron AstroMaster LT 60AZ Manuel d'installation rapide
Parcourez en ligne ou téléchargez le pdf Manuel d'installation rapide pour {nom_de_la_catégorie} Celestron AstroMaster LT 60AZ. Celestron AstroMaster LT 60AZ 10 pages.

1
Your AstroMaster 70AZ/90AZ includes: optical tube
w/ built-on StarPointer finderscope, pre-assembled
tripod with center leg brace and altazimuth mount
attached; two eyepieces; star diagonal,
accessory tray, battery, owner's manual,
and The Sky™ CD Software.
4
All three legs should be the same length to provide
a level platform for the telescope.
7
Here is how the fully assembled tripod and mount
should appear.
2
To set up the tripod, spread the legs outward until
they are fully extended. Extend each of the three
tripod legs down 6-12".
5
To attach the accessory tray, line up notches and
turn clockwise until tray tabs lock into place with
the tripod brackets.
8
dovetail
mount
fastening
screws
Next slide telescope tube into the mount. Be sure to
back out fastening screws to allow enough
clearance for the dovetail
www.celestron.com
Quick set-up guide for:
Model #21061 – AstroMaster 70AZ
Model #21063 – AstroMaster 90AZ
Model #21073 – AstroMaster LT 60AZ
Model #21074 – AstroMaster LT 70AZ
Questions or Problems with Set-up?
CONTACT: Celestron Technical Support:
310.803.5955
Quick Set-up Guide
3
Use the three tightening screws located at the
bottom of each leg to secure the extended legs
in place.
6
Properly assembled, the accessory tray should
appear as pictured above.
9
Center dovetail in the mount and tighten fastening
screw. For added security tighten the angled lock
down screw next to the fastening screw.
