Celestron StarSense AutoAlign Manuel - Page 5
Parcourez en ligne ou téléchargez le pdf Manuel pour {nom_de_la_catégorie} Celestron StarSense AutoAlign. Celestron StarSense AutoAlign 15 pages.

ASSEMBLY
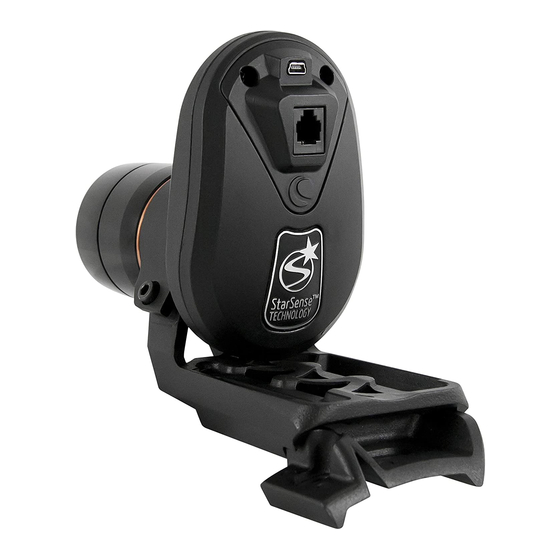
ATTACHING THE STARSENSE CAMERA TO
YOUR TELESCOPE
1. Remove the fi nderscope and bracket from your
telescope tube .
Note: Some optical tubes, like the NexStar SE, may have
a small plastic rail which secures the Star Pointer .
Remove this rail with a Phillips head screwdriver .
Remove StarPointer
2. Using the Optical Tube Compatibility Chart on
page 7, identify whether your telescope accepts
the small or large camera base .
Large Base
Using a Phillips head
screwdriver, install the
Small Base
appropriate base on your telescope .
Installing base with Phillips screwdriver
8
I
3. Slide the StarSense camera onto the camera
base and secure it with the thumbscrew(s) . The
camera slides on the large base front to back,
and slides on the small base back to front .
Installing large base (front to back)
Installing small base (back to front)
4. Plug the included auxiliary cable into the back
2. Remove the lens shroud by unthreading it .
of the StarSense Camera on one end, and your
mount's auxiliary port on the other end .
3. Slide the bracket off the front of the camera . Be
careful not to lose the two orange rings .
Note: If your telescope does not have an auxiliary port,
the Auxiliary Port Splitter, (item #93919 available
from Celestron), is required . First, plug the splitter
into the auxiliary port . Then, plug the hand control
into one port and the cable into the other .
CHANGING BRACKETS
To change from the pre-installed Large Camera
Bracket to the Small Camera Bracket:
1. Slightly loosen the socket head screw using the
4. Slide the new bracket onto the camera and screw
included 4mm Allen wrench . Do not remove the
the lens shroud back on . One orange ring should
screw entirely .
be in front of and behind the bracket as shown .
I
9
