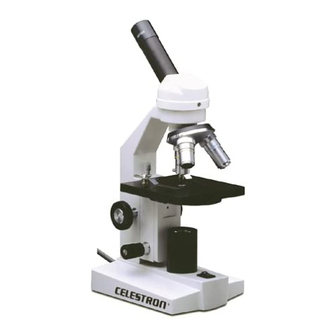
Celestron 4060 Manuel d'instruction - Page 4
Parcourez en ligne ou téléchargez le pdf Manuel d'instruction pour {nom_de_la_catégorie} Celestron 4060. Celestron 4060 15 pages. Celestron 4040 microscope: instruction manual

Assembling Your Microscope
Before you can view through your Celestron microscope, the binocular head assembly must be
attached to the pillar stand (13) and the rubber eyecups must be placed over the eyepieces. To
attach the binocular head assembly:
1. Remove the safety screw from the top of the pillar stand (13).
2. Partially unthread the pillar stand locking bolt (12) located behind the focuser assembly.
3. Place the binocular head assembly onto the pillar stand (13) and slide it half way down the
stand. Be careful not to put too much tension on the cord that goes from the microscope base
to the top light illuminator (10).
4. Rotate the binocular head assembly until the objective turret (5) is directly over the center of
the stage (7).
5. Tighten the pillar stand locking bolt (12) to hold the binocular head assembly in place.
6. Thread the safety screw back onto the top of the pillar stand.
To Attach the Rubber Eyecups:
1. Place the rubber eyecups over the eyepieces with the rubber lips facing up.
2. Push the eyecups down over the tops of the eyepieces.
3. Rotate the eyepieces so that the rubber lips are facing out to the sides.
Your microscope is now ready to view specimens.
Microscope Operation
Powering the illuminator:
Your Celestron microscope has a built-in, 3-setting illuminator powered by 110v AC power. To
power the illuminator:
1. Plug the power cord (8) into a wall outlet.
2. Turn the illuminator switch (9) to the "I" setting to turn on the bottom illuminator bulb.
3. Turn the illuminator switch (9) to the "II" setting to turn on the top illuminator bulb.
4. Turn the illuminator switch (9) to the "III" setting to turn on both the top and bottom
illuminator bulbs.
Viewing a Specimen
To view a specimen:
1. Place the round glass stage plate (7) into the opening above the illuminator. When viewing a
specimen using top lighting only, you may wish to replace the glass stage plate with the
black/white stage plate.
Tip: Specimens of different size and thickness will require different levels of illumination.
Experiment with different lighting for each specimen. When using top lighting, the white side
of the stage plate may wash out fine detail where as the black side will increase contrast but
may make the specimen less bright.
2. Place a specimen slide under the specimen holder clips (6) and center the specimen directly
in the center of the stage.
3
