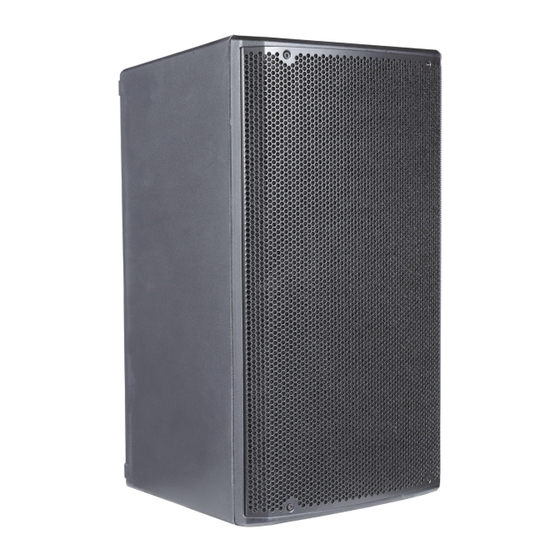
dB Technologies opera 10 Manuel de démarrage rapide - Page 3
Parcourez en ligne ou téléchargez le pdf Manuel de démarrage rapide pour {nom_de_la_catégorie} dB Technologies opera 10. dB Technologies opera 10 4 pages.

3) Connections and controls
All the connections and controls are in the amplifier
panel side:
OPERA 10
www.dbtechnologies.com
1–Main controls, with DSP preset rotary,
ground lift switch and LEDs
2–Balanced output, with CH1/MIX selection
3–DSP Preset reference table
4–Combo input (CH1) with LINE/MIC sensitivity
switch and level control
5–Combo input (CH2) with LINE/INST sensitivity
switch and level control
6–Power switch
7–Mains input with fuse housing
a) Connect the audio inputs. It is possible to connect
up to two sources (4, 5). The combo connector allows
a TRS or XLR connection. In case of dynamic
microphone, plug it into CH1 and select "MIC" in input
sensitivity switch. In case of an instrument (high
impedance source), plug it into CH2 and select "INST"
in the related sensitivity switch. Put the levels of CH1
and CH2 temporarily to the minimum value.
b) If you need an output signal, set properly the output
mode (2), choosing between "CH1 Link" and "Mix
Out". This selection allows the user to choose if the
signal of the input channel CH1 must be directly linked
in output, bypassing the possible CH2, or if it is
necessary to send the mix of CH1 and CH2 channels.
Then connect the "Balanced Output" (2) to another
OPERA 10 or other dBTechnologies loudspeakers,
using a cable with XLR (balanced) connector.
c) Set properly the DSP preset rotary (1), choosing
between stacked "S" and wedge "W" configurations.
The reference table (3) is useful to show the settings
possibilities:
S1– Club, with frequencies enhanced for
small/medium indoor environment
S2– Vocal, for an optimization in vocal and
singing performances
S3– Bass reduction, with the use of high-pass
filter, especially indicated in low-frequencies
reverberant conditions
S4– Playback, for tracks (like mp3
reproduction)
S5– Bass boost, with a low-frequencies
enhancement
W2– Wedge Vocal, designed for voice
reproduction in monitoring (wedge) use
W3– Wedge Playback, designed for tracks
reproduction in monitoring (wedge) use
FLAT– For an equalization without
enhancement of a particular frequency band
d) Plug the mains input cable, and set the channels
level (4, 5) to the desired value. The Signal/ON led
starts blinking, signaling the presence of audio signal.
Check the site
information and for the complete user manual!
www.dbtechnologies.com
Rev 1.0 cod. 420120245Q
for further
