Autonics ADS-SE Manuel - Page 5
Parcourez en ligne ou téléchargez le pdf Manuel pour {nom_de_la_catégorie} Autonics ADS-SE. Autonics ADS-SE 6 pages. Door side sensor
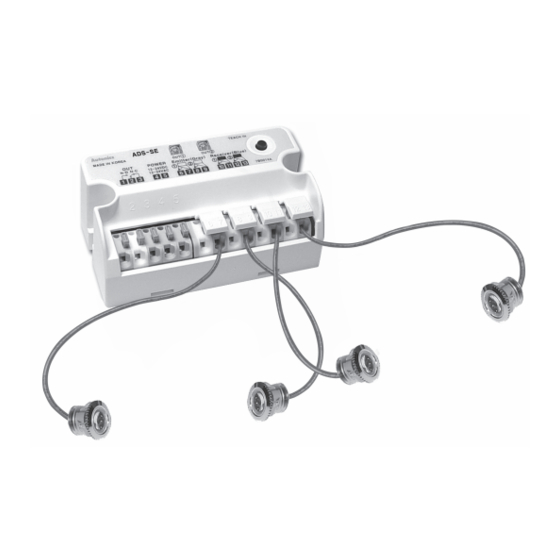
ADS-SE
Proper Usage
Sensitivity setting
Set sensitivity after mount this product for a normal
operation. It sets the optimum sensitivity automatically at
the controller according to installed environment.
Order
Press sensitivity
setting button
Flashed by turns
After more
than 1sec
Flashed at once
Take off
operation status
from button
Check LED display after setting the sensitivity.
※ When sensitivity setting button is pressed less than
1sec sensitivity setting is cancelled, then it operates by
previous setting.
Sensitivity status and check after setting sensitivity
LED display
Connecting
sensor
Red
1set
2set
● After complete sensitivity setting for using one set of
sensor, red LED is flashing, green LED is off and only
red LED displays the operation status.
※ After complete sensitivity setting in using two sets of
sensors, red LED indicates the operation status of
receiver set by receiver ① and green LED indicates the
operation status of receiver set by receiver ②.
※ Self-diagnosis function: If lack of sensitivity occurs
by optical axes not matched and pollution by dust on
the lens of emitter/receiver etc., the LED of normal
operation channel flashes due to unstable operation.
C-14
LED display
Status
Red/Green
Ready
Red/Green
The beginning of
All LED OFF
sensitivity setting
The end of
sensitivity setting
Displaying
Status
Green
After setting sensitivity
Sensitivity setting success
Sensitivity setting failure
-
-
1, 2-channel sensitivity setting success 1, 2-channel received light
1-channel sensitivity setting success,
2-channel sensitivity setting failure
-
1-channel sensitivity setting failure,
2-channel sensitivity setting success
-
1, 2-channel sensitivity setting failure
-
Caution
For mounting hole
• Check the wiring again with the connection diagram.
• When set the sensitivity, the transmitted beam must not
be shaken and cut off.
• Do not put obstacles like a pot on the passage of the
through beam.
• It may cause malfunction in above cases from lack of
sensitivity or abnormal sensitivity setting.
In operation
Received light
Emitter disconnection or
sensor cable extention
Lack of sensitivity
Interrupted light
2-channel lack of sensitivity
1-channel received light,
2-channel interrupted light
1-channel lack of sensitivity
1-channel interrupted light,
2-channel received light
1, 2-channel lack of sensitivity or
emitter disconnection
1, 2-channel interrupted light
● Check process for sensitivity setting failure
1. Check obstacles between the heads of emitter receiver.
2. Check pollutant on the lens of emitter receiver.
3. Check wires cut off and the connection with the
connection diagram on the controller.
4. Check if the head of emitter/receiver is inclined or not.
5. Set sensitivity again after removing above problem.
※ When sensitivity setting is failure even though above
problem is solved, please contact us.
Sensitivity setting
button
: light ON, : flash, : light OFF