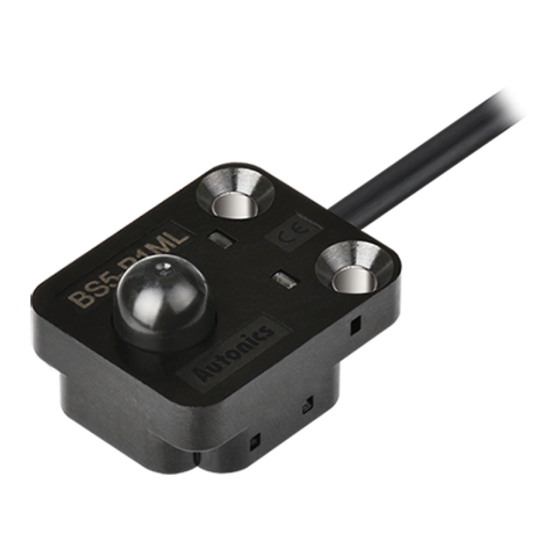
Autonics BS5-P Series Manuel de démarrage rapide - Page 2
Parcourez en ligne ou téléchargez le pdf Manuel de démarrage rapide pour {nom_de_la_catégorie} Autonics BS5-P Series. Autonics BS5-P Series 3 pages. Push button type photomicro sensors
Également pour Autonics BS5-P Series : Manuel (4 pages)

Ordering Information
This is only for reference.
For selecting the specified model, follow the Autonics webstie.
BS
5
-
P
1
❶ Operation mode
L: Light ON (Unpressed button, indicator + output ON)
D: Dark ON (Pressed button, indicator + output ON)
❷ Control output
No mark: NPN open collector output
P: PNP open collector output
Cautions during Installation
• Be sure to install this product by following the usage environment, location, and
specified ratings. Consider the listed conditions below.
- Installation environment
- Button stop position, output switching position, and operation limit position
- Operation load
• Use the M3 flat head screw to install, tighten with a torque of 0.59 N m or less.
• Do not impact with a hard object or bend the cable excessively.
That could decrease the product's water resistance.
• Do not pull the cable with a tensile strength of 30 N or over.
Failure to follow this instruction may result in fire due to the open circuit.
• Use this product after the test. Check whether the indicator works appropriately for
the positions of the detectable object.
• On the non-flush surface, install this product after inserting a spacer,
as shown in [Fig. 1].
[Fig. 1]
Spacer
Installation surface
Operation timing chart
Operation mode Light ON
Pressed
Button
Unpressed
Received
Received light
Interrupted
ON
Operation
indicator (red)
OFF
ON
Transistor
output
OFF
M
❶
-
❷
D
d
Recommended spacer
D: 6 mm
L
d: 3.3 mm
L: 4±0.1 mm
Dark ON
Pressed
Unpressed
Received
Interrupted
ON
OFF
ON
OFF
Connections
Brown
LOAD
Black
NPN
White
External
input
Blue
External Input Functions
You can connect the control wire (white) to an external device for the emitter OFF and
check stable operation function
• Be sure to use a transistor that opens and closes 50 mA/10 V, and over 1/8 W resistors.
Failure to follow this instruction may result in product damage.
• If the functions are not used, insulate the control wire (white).
■ Emitter OFF function
When the signal input occurs without pressing the button, you can check the receiver's
operation by stopping the emitter.
External connection
Brown
Black
NPN
White
Emitter
OFF
Blue
■ Check stable operation function
Without pressing the button, it reduces the LED intensity by about 20% and checks
that the receiver is still receiving light (transistor ON). It helps to check in advance for
malfunctions due to a decrease in the LED intensity.
External connection
Brown
Black
NPN
White
Check
390 Ω
stable
operation
Blue
■ Emitter OFF function+ Check stable operation function
External connection
Brown
Black
NPN
White
Check
390 Ω
stable
operation
Blue
Inner Circuit
■ NPN open collector output
LOAD
Max. 50 mA
OCP
SCP
• OCP (over current protection), SCP (short circuit protection)
• If short-circuit the control output terminal or supply current over the rated specification,
normal control signal is not output due to the protection circuit.
Brown
External
White
input
PNP
Black
LOAD
Blue
External connection
Brown
White
PNP
Black
Blue
External connection
Brown
White
PNP
390 Ω
Black
Blue
External connection
Brown
Check
stable
White
operation
390 Ω
PNP
Emitter
Black
OFF
Blue
■ PNP open collector output
OCP
+
SCP
Max. 50 mA
-
Emitter
OFF
Check
stable
operation
Emitter
OFF
+
-
LOAD
