Galaxy Audio Any Spot AS-1000R Manuel de l'utilisateur - Page 10
Parcourez en ligne ou téléchargez le pdf Manuel de l'utilisateur pour {nom_de_la_catégorie} Galaxy Audio Any Spot AS-1000R. Galaxy Audio Any Spot AS-1000R 20 pages. As-ck series uhf wireless camera systems
Également pour Galaxy Audio Any Spot AS-1000R : Manuel de l'utilisateur (20 pages)
AS1000
AS-1000 System Set-up and Operation
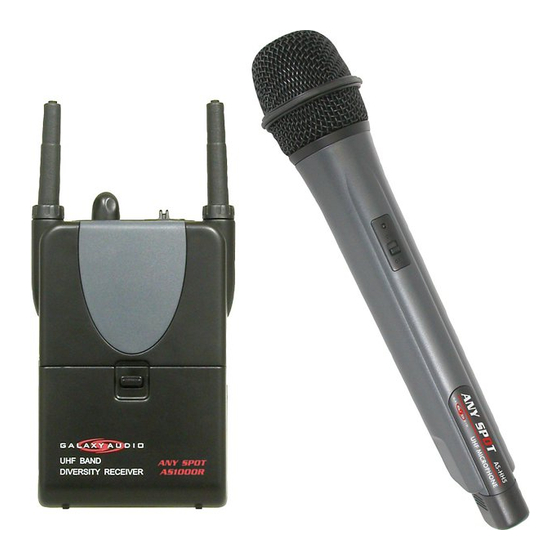
1. Attach the UHF antenna to the TNC connector on the rear
panel of the transmitter.
2. Check the voltage of the included AC adapter, and make
sure it conforms to the line voltage available in your local
area. Using the wrong AC adapter may cause irreparable
damage to the unit.
3. Plug the feeder cable of the AC adapter into the DC IN jack
on the transmitter. Then plug the AC adapter into a power
outlet. Switch on the power button on the transmitter.
4. Using the Group and Channel rotary switches, select a
frequency program number that is not already in use by
another wireless unit.
5. Connect the audio source(s) to the transmitter. For Mic level
signals use the XLR (MIC) input jack. For Mono Line level
signals use the ¼" (MIC) input jack. For Stereo Line level
signals use the Stereo RCA jacks. (The RCA jacks may also
be used in Mono by sliding the Stereo/Mono switch to Mono
mode).
6. Turn all volume controls on the transmitter to minimum.
Send audio signals from the source(s) at the approximate
level that will be used during the performance. Sources may
be a monitor mix from a mixing console, a CD player, or even
a single microphone.
7. Starting at minimum, slowly turn up the MIC volume control
until the transmitter Peak LED starts to light. Then turn the
control back down just enough to keep the LED from lighting.
Repeat this procedure for the LINE IN volume control (if used).
These levels will be a good starting point and provide a good
signal to noise ratio while avoiding distortion.
8. If desired, the audio may be monitored at the transmitter
location by plugging in headphones to the ¼" headphone jack.
Adjust PHONES to set the volume.
9. Open the battery door on the AS-1000R receiver and install
two AA batteries.
10. Adjust the Group (GR) and Channel (CH) rotary switches
to match the frequency number selected on the transmitter.
7
SYSTEM SETUP & OPERATION