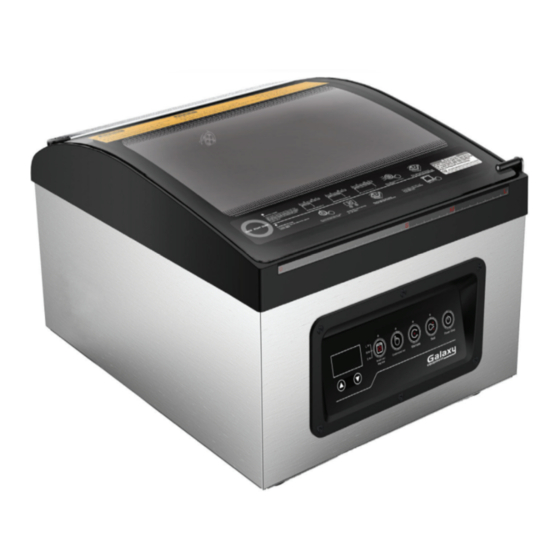
Galaxy Equipment 177GVMC10 Manuel de l'utilisateur - Page 9
Parcourez en ligne ou téléchargez le pdf Manuel de l'utilisateur pour {nom_de_la_catégorie} Galaxy Equipment 177GVMC10. Galaxy Equipment 177GVMC10 11 pages. Chamber vacuum packaging machines

• Several sizes available to meet your packaging needs.
• Terrific for hundreds of applications in and out of the kitchen.
• Safe for freezer, refrigerator and microwave use. Pouches can also be boiled.
• Pouch thickness available in standard 3mil or heavy duty 4mil.
• Pouches are economically priced, giving you a better value.
• Vegetables must be blanched before being packaged. Place in boiling water or microwave until heated
through but still crunchy. Vacuum package as normal.
How to Vacuum and Seal a Pouch
NOTE: In order to extend the life of your vacuum sealer, we strongly recommend pausing at least 20 seconds
between each seal.
1.
Select a vacuum bag of the right size and place the item in the bag, allowing at least 2 inches (5 cm)
between the top of the bag and the item to ensure sealing.
2.
Press the Seal button, and then through
work such as have not changed, you do not need to set up).
3.
Vacuum Mode Selection (Smart Vacuum or Customized Vacuum)
• If the Smart Vacuum mode is used, press the Smart Vac/bag size button to select the bag
specification (L, M, S) according to the actual size of the bag. The corresponding indicator lights up,
indicating that the bag of the corresponding specification is selected.
• If the Customized Vacuum mode is used, press Customized Vac, then through
required time.
4.
Place the vacuum bag with the items in it flat in the vacuum chamber, place the bag mouth on the
heating bar, and insert two clips into the bag mouth. The mouth of the bag should be kept clean and free
from liquid and debris.
5.
Close the vacuum cover and gently press 2-3s. The machine starts to vacuum and heat up
automatically. If it is necessary to heat seal in advance during vacuuming, press the seal button during
vacuuming to enter the heat seal.
6.
When it is finished, the machine will beep three times, then automatically open the vacuum lid and is
finished.
7.
Remove the heat-sealed items, check the heat-sealing effect, and then refrigerate or refrigerate for
storage.
Note: A positive seal will look "clear" upon inspection. If the seal is "spotty or incomplete" increase the
sealing time by 1 digital. If the seal is "white or milky" decrease the seal time by 1 digital.
User Manual
/
, select heat sealing time (with memory function, the next
- 9 -
/
, choose the
