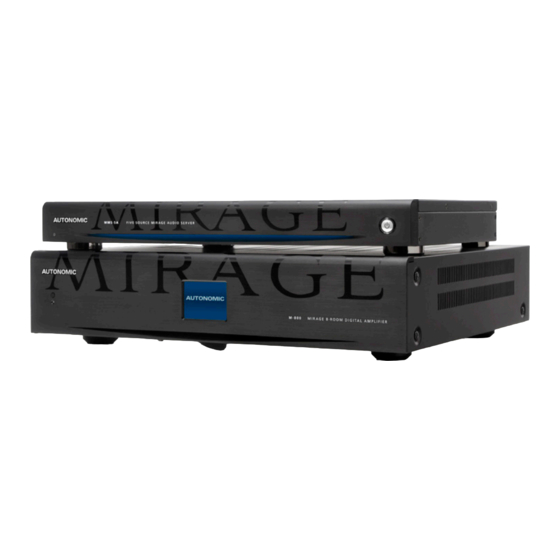
Autonomic Mirage Manuel rapide
Parcourez en ligne ou téléchargez le pdf Manuel rapide pour {nom_de_la_catégorie} Autonomic Mirage. Autonomic Mirage 4 pages.

! Make all connections prior to powering up.
1. Hardware Preparation
Connect to the Network
a.
Connect the server and amplifier to the network.
If you have multiple amplifiers, connect only the first
amplifier to the network. (See fig. 5 labeled "Stacking Amps")
ZONE 1
ZONE 2
ZONE 3
ZONE 4
ZONE 5
ZONE 6
(fig. 1)
Connect Analog Audio Cables
c.
Connect the source inputs to the analog outputs in order.
ZONE 1
ZONE 2
ZONE 3
ZONE 4
ZONE 5
ZONE 6
ZONE 7 ZONE 8
(fig. 3)
©2006–2014 Autonomic Controls, Inc. All trademarks are property of their respective owners.
Expansion
M-800
MIRAGE 8-ROOM
DIGITAL AMPLIFIER
Toslink
ZONE 7 ZONE 8
IR OUTPUTS
Expansion
M-800
MIRAGE 8-ROOM
DIGITAL AMPLIFIER
Toslink
IR OUTPUTS
Audio System
Connect Digital Audio Cable
b.
Connect the coax digital output (labeled "Main" on
the Mirage Media Server) to the first digital input on
the Mirage Amplifier.
Expansion
ZONE 1
ZONE 2
ZONE 3
ZONE 4
ZONE 5
ZONE 6
ZONE 7 ZONE 8
(fig. 2)
Power on the Server
d.
Press the power button on the Mirage Media Server. The
Mirage Amplifier will power on when plugged in.
We recommend attaching a display when you first power
up the Mirage Media Server as the IP address will be on
screen.
e.
Wait 2-3 minutes for the server to run the initial boot up.
f.
If your server is connected to a video display, wait until
the Now Playing screen shows.
|
Designed in New York, USA
M-800
MIRAGE 8-ROOM
DIGITAL AMPLIFIER
Toslink
IR OUTPUTS
|
|
+1 914 598 1647
MirageAudioSystem.com
