Copernicus Tech Tub2 Manuel d'assemblage - Page 10
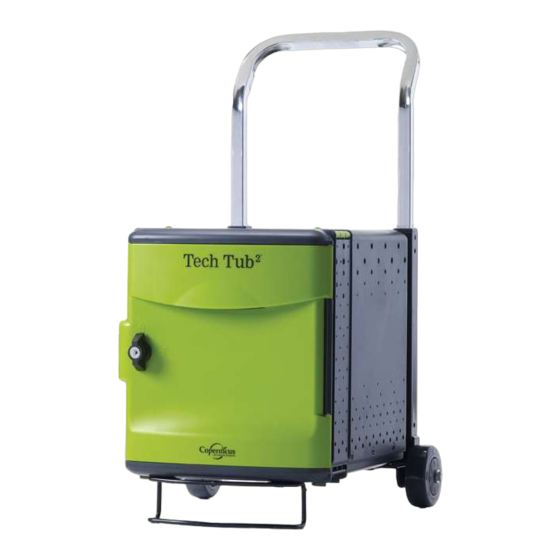
Parcourez en ligne ou téléchargez le pdf Manuel d'assemblage pour {nom_de_la_catégorie} Copernicus Tech Tub2. Copernicus Tech Tub2 16 pages. Modular cart system
Également pour Copernicus Tech Tub2 : Manuel d'assemblage (16 pages), Manuel d'assemblage (14 pages), Manuel d'assemblage (2 pages), Manuel d'assemblage (20 pages), Manuel d'assemblage (13 pages)
Actual Size:
5
E
Install Power Timer
Hook power timer cover onto mounting bracket
1
a) Hook tabs into slot
on mounting
bracket
Actual Size:
6
D
M5 15mm
2x
Install Spring Steel Cable Hook
Fasten to right handle at the back
10
I
M6 x 10mm Thumb Screw
M6 Star Washer
2x
2x
FTT401_718_724_726_732_2023_A - Released January 17, 2023 - Copernicus Educational Products Inc.
Fasten power timer cover to mounting bracket
2
b) Swing cover
down into place
You will need: (Not to Scale)
Spring Steel
Cable Hook
1x
D
D
You will need: (Not to Scale)
Power Timer
Cover
1x
M6 Star Washer
E
2x
Important electrical
safety component.
Allen Key
1x
Before proceeding to the next step
please check the entire assembly
for loose parts; tighten all casters,
bolts, screws and nuts.
Tighten all casters using supplied
caster wrench.
Keep wrench with unit. Casters
must be tightened every 6 months
for proper maintenance.
E
I
E
I