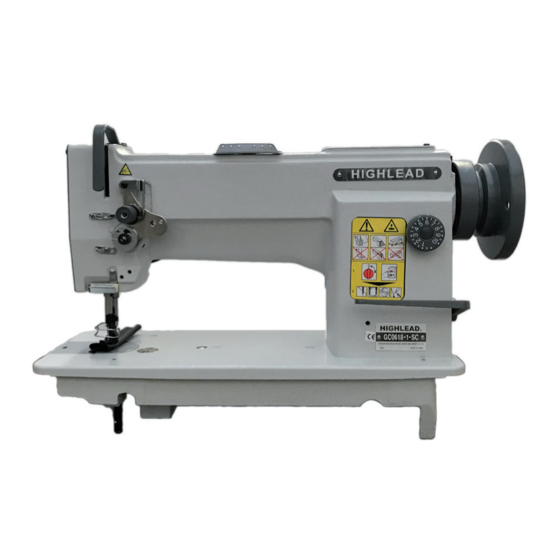
HIGHLEAD GC0618-1 D2 Manuel d'instruction Catalogue des pièces - Page 7
Parcourez en ligne ou téléchargez le pdf Manuel d'instruction Catalogue des pièces pour {nom_de_la_catégorie} HIGHLEAD GC0618-1 D2. HIGHLEAD GC0618-1 D2 13 pages. Heavy duty compound feed lockstitch sewing machine

11 ADJUSTING THE LIFT
OF THE ALTERNATING
PRESSER FEET (Fig 10)
The thickness of the material should control
the height of the lift of the alternating presser
feet. The lift should be just enough for
clearance of the material.
1 ) With normal adjustment both feed lift to equal height: To later lift, loosen the wing nut A and
move the link and stud assembly along the slot-move up to raise the feeding presser foot and
push down to lower this foot. Tighten wing nut upon completion of adjustment. However, some
materials may require unequal height of lift.
2 ) When altering the lift of the lifting presser foot (A Fig 5) unequally against that of the vibrating
presser foot (B Fig 5) or vice versa, see the instructions "19 ADJUSTING THE HEIGHT OF THE
PRESSER FEET"
12 STITCH LENGTH
ADJUSTMENTS AND
REVERSING LEVER (Fig 11)
Stitch length can be set by turning the detail 2. Numeric
figures on the dial show the stitch length in mm. The
desired numeric figure on the dial should be set at just
above, while depressing the reversing lever 1 slightly.
13 ADJUSTING THE HEIGHT
OF THE FEED DOG (Fig 12)
The maximum height of the feed dog (1 Fig 12)
from the surface of the needle plate (2 Fig 12) is
normally 1mm.
1 ) Lay down the machine head toward the
other side, and turn the balance wheel so as
to raise the feed dog to it highest point.
2 ) Loosen bell crank screw F (Fig 4) and adjust
the height of the feed dog by raising or
lowering it.
3 ) Securely tighten the screw upon completion
of adjustment.
A
A
Fig 10
Fig 10
Fig 10
Fig 11
Fig 11
Fig 12
1 Feed dog
2 Needle plate
2 Needle plate
2 Needle plate
A
Fig 11
2
1
2
1
2
1
Fig 12
1 Feed dog
Fig 12
1 Feed dog
1mm
1mm
1mm
