Gallien-Krueger Backline 110 Manuel du propriétaire - Page 6
Parcourez en ligne ou téléchargez le pdf Manuel du propriétaire pour {nom_de_la_catégorie} Gallien-Krueger Backline 110. Gallien-Krueger Backline 110 12 pages. Backline series
Également pour Gallien-Krueger Backline 110 : Manuel du propriétaire (16 pages)
Setup & Maintenance
Setup: To insure proper operation and to avoid
potential safety hazards, place the unit on a firm,
level surface. Do not plug or unplug the instrument
or speaker cable while the amplifier power is on.
Rack-mounting this unit is not recommended.
Heat & Ventilation: For proper ventilation, make
sure there is at least 8 inches (20cm) of clearance
around the sides, top, back and front of the amplifier.
Avoid using in extremely hot or cold locations and
areas that are exposed to direct sunlight, or near
heating equipment. The heat sink fins and ventila-
tion slots that form part of the enclosure are spe-
cially designed to displace heat generated by the
amplifier. Placing other electronic equipment near
these heat-dissipation systems may possibly affect
the long-term reliability of both your amplifier and
the other equipment.
Moving the Unit: Before moving the unit, be
certain to disconnect all cables. Make sure that you
disconnect the unit from the AC outlet. If Traveling
with the unit frequently, we recommend a road case
or gig bag to protect it from scratches and road wear.
Cleaning & Maintenance: Clean only with a dry
cloth. Never use benzene, thinner, alcohol, or other
volatile cleaning agents. Do not use abrasive
cleaners, as they may damage the finish of metal
parts. Avoid spraying insecticides near the unit. No
other maintenance should be necessary.
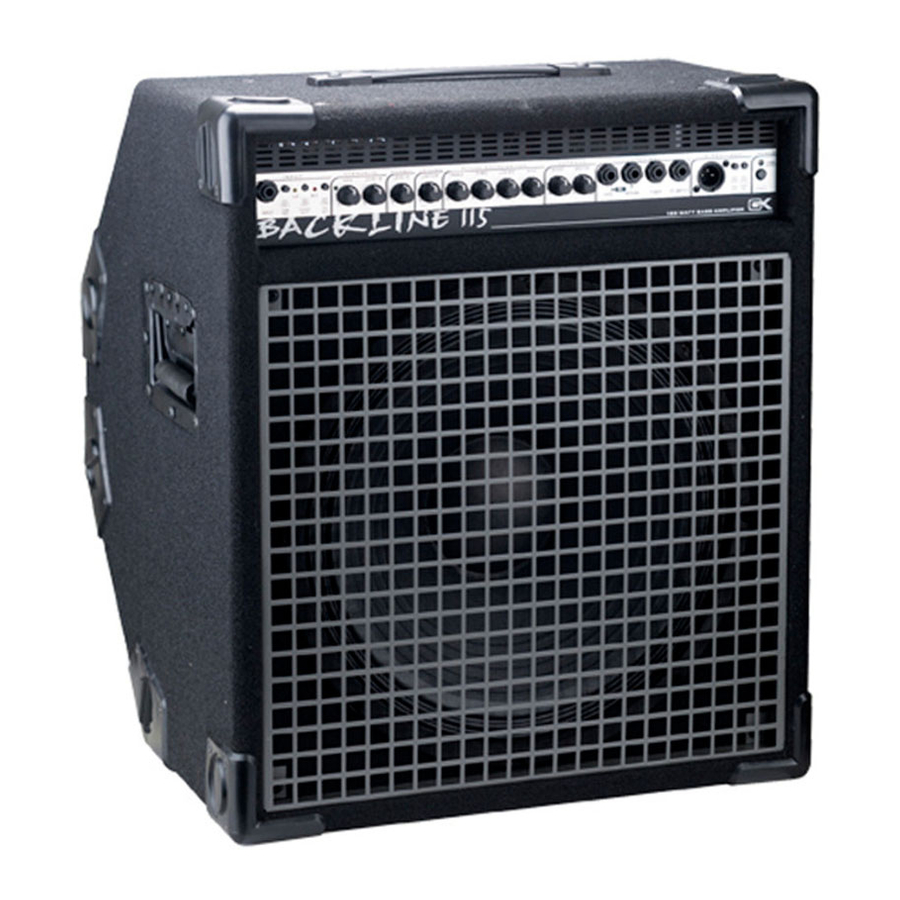
Speaker Configurations:
Backline 112:
One 8 Ohm 12" speaker
Backline 110:
One 8 Ohm 10" speaker
To drive an external cabinet, the combo's internal
speaker can be disconnected by unplugging the
speaker cable connected to the combo's back
panel.
Maximum recommended load with the internal
speaker disconnected:
Backline 112:
One 8 Ohm cabinet.
Backline 110:
One 8 Ohm cabinet.
B B B B B A C K
A C K
A C KLINE 110 & 112
A C K
LINE 110 & 112
LINE 110 & 112
LINE 110 & 112
A C K
LINE 110 & 112
Quick Start
The Backline 110/112 is designed to be simple to
operate. All controls have a well defined purpose
and are well behaved. These directions will take
you through the basics and give you a good start
for setting up your sound.
1. Set the power switch to Off and connect the
supplied power cable from the amplifier AC recep-
tacle to an AC power outlet of proper voltage and
power rating (see safety information on page 8 for
details).
2. Set all EQ controls and the Boost control to 12
o'clock. The Voicing Filter should be turned all the
way down to get a flat response. Set the Gain,
Level-A, Level-B and Master Volumes at 0. Set the
A/B switch to off (Channel A)
3. Using an instrument cable, connect your bass to
the Input jack and turn the power switch on and play.
If the clip LED flashes excessively, push the button
marked -10db in. This will prevent you from
overdriving the preamp. Occasional clip light
flashes occurring while playing very hard is okay.
4. Set the master control to 12 o'clock and slowly
bring the Level-A volume up. Do not turn the
volume control in the input section past 12 o'clock
unless you want an overdrive effect. If you have a
bass with passive electronics make sure the con-
trols are all the way up. If you have a bass with
active electronics, turn all of the EQ controls on
the bass to the middle or flat position.
At This Point:
You should be hearing your bass quite well. You
can use the volume and Master to achieve a
comfortable sound level. Remember: If you need
more volume, turn up the Master control first.
5. Now you are ready to check out the overdrive
feature (Channel-B). Push in the Level A/B button.
The overdrive LED should light. Set the Gain
control to 9 o'clock as a starting point. Slowly raise
the Level-B volume to the desired sound level. This
will give a slightly distorted sound. Raising the gain
will add more distortion and sustain. (See Sound
Tips for more detail).
6