Dynojet POWER VISION 4 Manuel d'installation - Page 4
Parcourez en ligne ou téléchargez le pdf Manuel d'installation pour {nom_de_la_catégorie} Dynojet POWER VISION 4. Dynojet POWER VISION 4 10 pages. 2018 can-am x3 900 ho 2017-2022 can-am x3 turbo 2017-2022 can-am x3 turbo r 2020 can-am x3 turbo rr 2018-2021 can-am maverick trail 800 2018-2023 can-am maverick trail 1000 2019-2023 can-am maverick sport 1000 2015-2018 can-am maverick 1000r 2015-2017 can
Également pour Dynojet POWER VISION 4 : Manuel d'installation (14 pages)
GETTING STARTED
1
Download and install the Dynojet Power Vision app from
the Apple App or Google Play Store.
2
Verify Bluetooth and Location are enabled.
Location permission is required for the app to access
the phone's Bluetooth hardware.
3
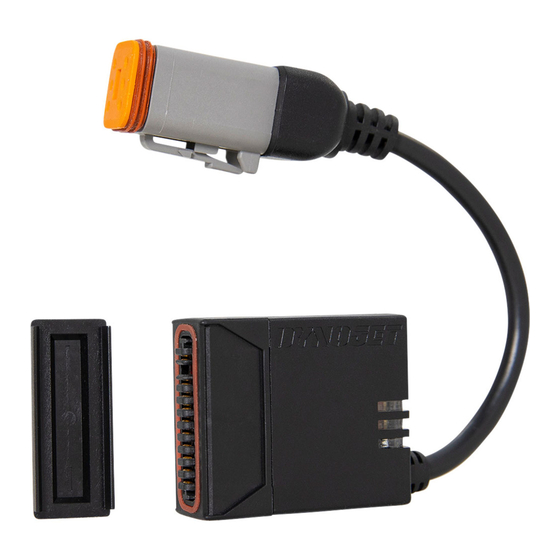
Connect the Power Vision to the vehicle diagnostic port.
4
Turn the ignition switch to the ON position and the run
switch to the RUN position, but do not start the vehicle.
5
Open the Dynojet Power Vision app.
6
Log in using your Dynojet account login information.
Don't have a Dynojet account? Press I don't have an
account and create one. Enter your information and a
password and press Register.
7
Press Scan.
8
Select the Dynojet PV4.
9
Press the Pencil to edit the vehicle name. Press Update
to save.
10
Press Tunes.
Note: The fi rst time you connect to a vehicle you will
need to Read the ECU. Press Yes to continue.
11
Type in a stock fi le name. The VIN is used by default.
This fi le will be uploaded to your Cloud account.
4 POWER VISION 4
Select the PV4
Log in
Don't have
an account?
Create one!
Scan for PV4
First time
connections
will need to
read the ECU
INSTALLATION AND USER GUIDE
Enter your
information
to create an
account
Edit pencil
Indicates the
vehicle you are
connected to
Name the
stock fi le