Dynojet power commander III Instructions d'installation - Page 4

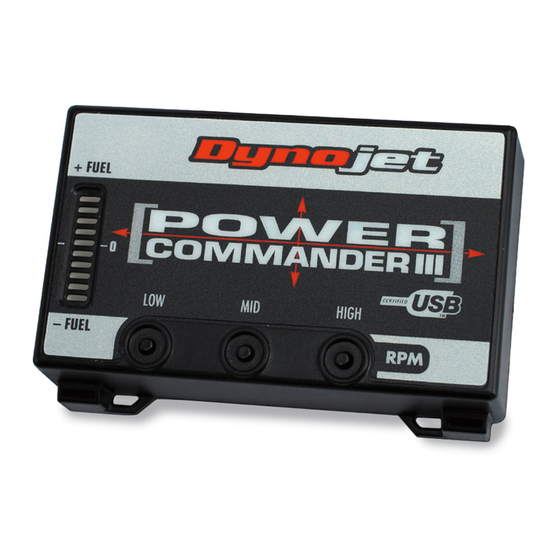
Parcourez en ligne ou téléchargez le pdf Instructions d'installation pour {nom_de_la_catégorie} Dynojet power commander III. Dynojet power commander III 4 pages. 2004 kawasaki zx12r
Également pour Dynojet power commander III : Instructions d'installation (5 pages), Instructions d'installation (5 pages), Manuel d'installation (3 pages), Instructions d'installation (4 pages), Manuel d'installation (3 pages), Manuel d'instructions d'installation (3 pages), Instructions d'installation (3 pages), Instructions d'installation (3 pages), Instructions d'installation (3 pages)

Dynojet power commander III Instructions d'installation
PCIII USB EX
connectors
i210-411EX
stock connectors
13 Attach the connectors from the PCIII USB EX
harness to the stock connectors as shown in
Figure G.
14 Verify the PCIII USB EX harness will not get
pinched or damaged.
15 Reinstall the fuel tank.
16 Clean the PCIII USB EX unit and inner fender
with the supplied alcohol swab.
17 Use the supplied velcro to attach the
PCIII USB EX to the inner fender as shown in
Figure H.
18 Reinstall the seats.
19 Insert the cd provided into your computer's
cd-rom drive.
20 Follow the on-screen instructions to install the
PCIII USB EX software.
Visit www.powercommander.com to download
software tutorials and the latest maps.
2003-2006 Kawasaki Z1000 - PCIII USB EX - 4