Gama Sonic GS-94C-D Manuel d'instruction - Page 4
Parcourez en ligne ou téléchargez le pdf Manuel d'instruction pour {nom_de_la_catégorie} Gama Sonic GS-94C-D. Gama Sonic GS-94C-D 4 pages. Victorian solar lamp with central solar panel
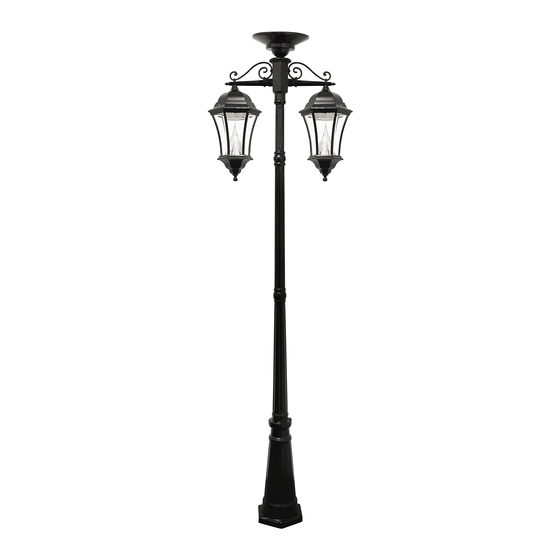
Assembly Instructions
Lamp Head
1. Remove the screws from the top of part A as shown (Fig. 1).
2. Connect the two black clips together from Part A to Part B (Fig. 2).
3. Place wires inside of Part B, attach Part A to part B using the screws
from step one and Tighten them (Fig. 3).
4. Flip the assembly (AB) over and remove the nuts and washers from
each side (Fig. 4).
5. Slide the wire from one side of Assembly AB through the hole in part
C and set part C on the threaded rod (Fig. 5).
6. Slide washer and nut on threaded rod and tighten as much as
possible with a 14mm wrench (Fig. 6). (Part C may twist slightly if
pressure is applied, please note this is normal)
7. Repeat steps 5 and 6 to attach the other side.
8. Connect the wire to the clip in part D (Fig. 7).
9. Connect Parts D and C using the Phillips head screws provided
(Fig. 8).
10. Repeat steps 8 and 9 for the other side.
Lamp Post
1. Use an electric drill to make three holes in concrete, which
should be similar to but slightly larger than the concrete
anchors. The holes should be lined up with the holes of the
lamp base (H).
2. Place the anchors into the drilled holes with their threaded
ends facing up.
3. Place lamp base (H) onto anchors (Fig 9) and secure base
with the washers, lock washers and nuts using a wrench.
Cover the bolts with the plastic covers provided (Fig. 10).
4. Make sure the lamp base (H) is stable before installing
Part G.
5. Place Part G on top of Part H and tighten with the provided
screws using a wrench (Fig.11).
6. Screw Part F into Part G, Part E into Part F, and the lamp
head assembly onto Part E (Fig. 12).