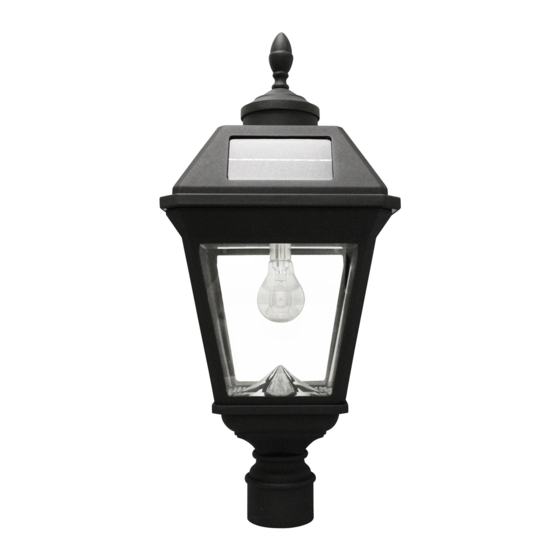
Gama Sonic GS-97A Manuel d'instruction - Page 3
Parcourez en ligne ou téléchargez le pdf Manuel d'instruction pour {nom_de_la_catégorie} Gama Sonic GS-97A. Gama Sonic GS-97A 4 pages. Imperial solar lantern

Assembly Instructions
NOTE: If you are replacing an existing gas/electric post light, you must consult a
certified technician to cancel them before installation.
NOTE: The solar light must be charged for two sunny days for best results.
1. Detach the upper part of the lamp as shown in Fig. 1 by turning it
counterclockwise.
2. Turn ON the operation switch (see Fig. 2.) by choosing your desired
brightness level:
Low- last longer using dimmer light. High- Brighter light output.
3. Reassemble the upper part of the lamp by placing it on top of the 4
hinges, and then turn it clockwise.
4. Install the lamp onto your existing 3" post, using the screws provided
(Fig. 3.).
5. For models GS-97G and GS-97E only, screw in the Finial or Eagle on
top of the lamp (Fig. 4.).
Replacing the Batteries
(After several years of use, the batteries may need replacing).
1. Detach the upper part of the lamp as shown in Fig. 1 by turning it
counterclockwise.
2. Make sure the operation switch is in the OFF ("O") position.
3. Release the battery compartment's screw located on the silver reflector
and remove the old battery pack. Make sure the new batteries are
high quality – 1 x Li-Ion Battery Pack (3.2 Volt / 3000 Ma) (Fig. 2).
4. Install the new batteries into the battery compartment.
5. Reassemble the unit by reversing the above procedure.
Optional: Use the second battery compartment to add extra battery pack
(not included).
Charging & Duration Chart
Model#
Charging Time
GS-97A
GS-97G/E
3 Hours
6 Hours
3 Hours
6 Hours
Duration
High Mode
Approx. 5 hours
Approx. 12 hours
Approx. 5 hours
Approx. 10 hours
Duration
Low Mode
Approx. 10 hours
Approx. 20 hours
Approx. 7 hours
Approx. 12 hours
