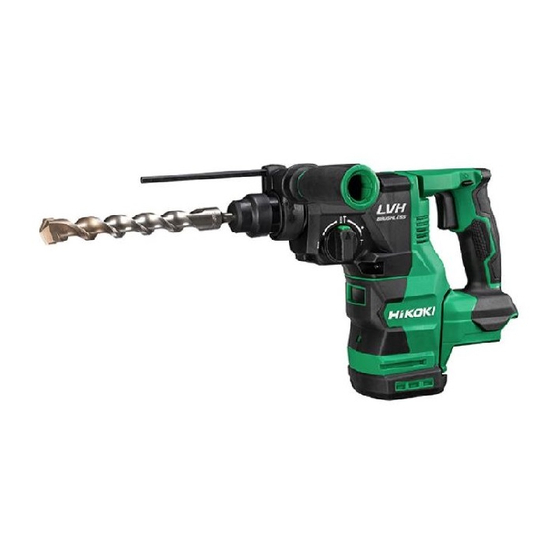
HIKOKI DH 1826DC Manuel d'instructions de manutention - Page 13
Parcourez en ligne ou téléchargez le pdf Manuel d'instructions de manutention pour {nom_de_la_catégorie} HIKOKI DH 1826DC. HIKOKI DH 1826DC 20 pages.
Inserting round shank applications
tools (DH1826DC)
Switch operation
Setting the speed
Auto stop function
How to use the LED light
Cleaning of the battery installation
compartment
Installing the side handle
Selecting accessories*
*1 For details on how to use the Dust extractor system, refer
to the system's instruction manual.
*2 If it is hard to pull out the drill chuck holder or the drill bit
holder, align the change lever with the
the lock grip.
*3 For detailed information regarding each tool, contact a
HiKOKI authorized service center.
SELECT OPERATION MODE
Pressing the changeover switch allows the selection of
rotation speed and the auto stop function.
○ Rotation speed (Low mode/Normal mode) (Fig. 18)
Select either Low mode or Normal mode and operate the
tool in the selected speed.
○ Auto stop mode (on/off ) (Fig. 19)
This product is equipped with an auto stop function to
support continuous drilling work. The function features a
memory mode for storing the work time for drilling from
switch ON to switch OFF, and an auto stop mode that
automatically stops the motor from the second drilling
onward should the work exceed the stored work time
while the switch is ON.
AUTO STOP FUNCTION
In selection mode, pressing the button for longer than two
seconds will move to memory mode. (Fig. 19)
(At the same time the auto stop lamp will blink.)
Conduct drilling when the auto stop lamp is fl ashing. The
time between switching ON and switching OFF is stored by
the tool.
(At the same time, the auto stop lamp will light up.)
Conduct drilling when the auto stop lamp is fl ashing.
Continuous drilling is possible as the memory storage time
will be recorded by the tool until the auto stop function's auto
stop mode is cancelled.
The auto stop function is cancelled by pressing the
changeover switch once again for over two seconds.
(At the same time, the auto stop lamp will switch off .)
CAUTION
○ Switch ON the tool once you place the tip of the tool on
the work material.
○ The rotation speed and the level at which the switch is
pulled during drilling is not stored to memory.
○ Fully carry out drilling in one go during auto stop mode.
○ The motor will stop even if you switch OFF within the
memory storage time.
○ When you switch OFF within the memory storage time,
the count will be reset. If you rework a task in which a
hole has been partially drilled, the memory storage time
will be fully recounted.
○ The auto stop function will remain active until canceled.
16
17
18
19
20
21
22
―
3
mark and turn
REACTIVE FORCE CONTROL
5
This product is equipped with a Reactive Force Control
5
(RFC) feature that reduces jerking of the tool body.
5
If the tool bit is suddenly overburdened, any jerking of the
tool body is reduced by activation of the slip clutch or by
5
stopping of the motor by the sensor built into the tool body.
6
If the motor is stopped because of overburdening detection
by the controller, the display lamp will blink while the switch
6
is pulled. In addition, the lamp will continue blinking for
approximately three seconds after the switch is released.
6
The motor will remain stopped while the lamp is blinking.
(Fig. 23)
17, 18
Because the RFC feature may not activate or its performance
may be insuffi cient depending on the working environment
and conditions, be careful not to suddenly overburden the
tool bit while operating.
● Possible causes of sudden overburdening
Tool bit biting into material
Impact against nails, metal or other hard objects
Tasks involving prying or any excess application of
pressure, etc.
Also, other causes include any combination of the
aforementioned.
● When the reactive force control (RFC) is triggered
When the RFC is triggered and the motor stops, turn
off the tool's switch and remove the cause of the
overburdening before continuing operation.
13
Fig. 23