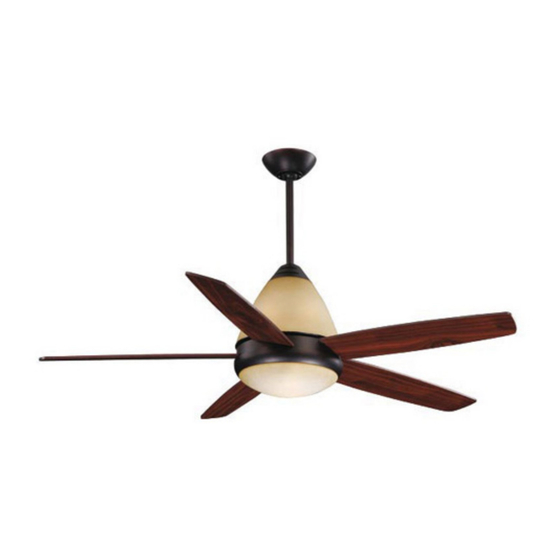
aireRyder FN52239 Manuel - Page 7
Parcourez en ligne ou téléchargez le pdf Manuel pour {nom_de_la_catégorie} aireRyder FN52239. aireRyder FN52239 11 pages.

Wood Member
(2" x 4" Approx.)
Ceiling
Flat Washer
Dry Wall Screw
Safety Cable
Fig.20
Secure the canopy to the hanging
bracket with canopy screws.
( Please keep the antenna out of the
canopy to improve the effectiveness
of the received signal.)
Fig.23
Install the glass shade by screwing it
onto the central fan fixture. (Make sure
the glass shade is securely attached,
but DO NOT over tighten.)
U / L
H I
U / L
HI
D / L
M E D
D / L
MED
L O W
LOW
O F F
R E M O T E
OFF
C O N T R O L
Ceiling Joist
Junction Box
Hanger Bracket
Fig.19
Fig.21
Tighten the blades to the blade holders
by using the blade screws and washers.
WARNING:
As per EPACT 2005 requirements, this fan light has a built-in current limiting device to conserve
energy. The fan light will not operate if the combined wattage of the installed bulbs exceeds 190
Watts. If the fan light shuts off shortly after being switched on, it may be due to excessive current
demand. Turn off power to the fan and replace the light bulbs with lower wattage bulbs.Turn on
power to the fan, using the pull chain, wall switch, or remote control (whichever is installed on the
particular fan).
Fig.24
Turn on the electric power at the
main fuse or circuit breaker box.
Install the battery to the transmitter. (9V, not included).
Fig.25
Turn on the electric power.
Press "HI" button to operate the fan in high speed.
Press "MED" button to operate the fan in medium speed.
Press "LOW" button to operate the fan in low speed.
Press "OFF " to turn the fan off.
Press and release the "U/L" button quickly to turn on/off the upper light.
Press and hold the "U/L" button to adjust the illumination of upper light
with the dimmer switch.
Press and release the "D/L" button quickly to turn on/off the the lower light.
Press and hold the "D/L " button to adjust the illumination of lower light with
the dimmer switch.
PAGE: 3 / 5
Attach the loop at the end of the safety cable to the ceiling surface,
then secure it with a flat washer and dry wall screw. Make sure the
flat washer and dry wall screw are covered by the fan canopy.
CAUTION: TO REDUCE THE RISK OF ELECTRIC SHOCK,
DISCONNECT THE ELECTRICAL SUPPLY CIRCUIT TO
THE FAN BEFORE INSTALLING LIGHT KIT.
Fig.22
Bulb Type B Max.60W
(Included)
Install bulbs (included). See relamping
lable at socket area or packaging for
maximum allowed wattage.
F
F
A
A
N
N
090622
C
C
O
O
