HIKOKI GP 5V Manuel d'instructions de manutention - Page 13
Parcourez en ligne ou téléchargez le pdf Manuel d'instructions de manutention pour {nom_de_la_catégorie} HIKOKI GP 5V. HIKOKI GP 5V 20 pages. Electronic hand grinder
KA-4
KA-5
○ Wheels with 3 mm shaft
All wheels are provided with WA grain, 80 granding and P
bonding and are suitable for grinding general and special
steel materials.
KA-20
KC-20
○ Dresser
○ Case
Optional accessories are subject to change without notice.
APPLICATIONS
○ Finishing of dies for press working, die casting and
moulding.
○ Finishing of thread cutting dies, tools and other small
parts.
○ Internal grinding of tools and machine parts.
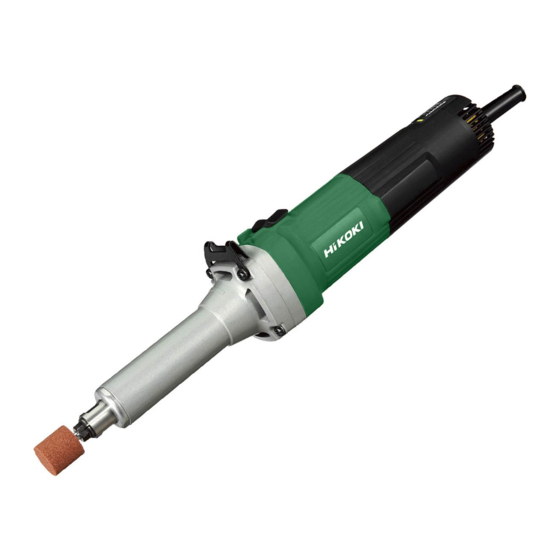
GP3V
d
3 mm, 3.175 mm (1/8")
D
5 mm
L
10 mm
13 mm
GP5V
d
3 mm, 3.175 mm (1/8")
D
5 mm
6 mm
L
10 mm 13 mm 16 mm 13 mm 40 mm 40 mm 25 mm 25 mm 13 mm
KA-8
KA-12
KC-22
KC-23
6 mm
8 mm
16 mm
8 mm
10 mm 13 mm 16 mm 20 mm 25 mm 32 mm 38 mm 25 mm 32 mm 38 mm
PRIOR TO OPERATION
1. Power source
Ensure that the power source to be utilized conforms
to the power requirements specifi ed on the product
nameplate.
NOTE:
When connected to the power supply, the built-in
electronic control circuit shifts to standby status and
the grinder becomes slightly warm, but this is not a
malfunction.
CAUTION
KA-13
Do not operate from a direct current power source, engine
generator, booster or any other type of transformer.
Doing so may not only cause damage to the grinder, but
may lead to accidents.
2. Power switch
Ensure that the power switch is in the OFF position. If the
plug is connected to a receptacle while the power switch
is in the ON position, the power tool will start operating
immediately, inviting serious accident.
3. Extension cord
When the work area is removed from the power source.
Use an extension cord of suffi cient thickness and rated
capacity. The extension cord should be kept as short as
practicable.
4. Installing a wheel
Install the wheel so that length is less than 15 mm. If is
KC-24
longer, abnormal vibration will occur, and the machine is
not only negatively aff ected, but there is a possibility of a
serious accident.
Make the as small as possible.
When d = 6 mm, 6.35 mm (1/4"), 8 mm, D of the wheel
should be less than the Max. wheel diam. of each models
(GP3V: 25 mm, GP5V: 50 mm). If a wheel with D more
than the Max. wheel diam. of each models (GP3V: 25
mm, GP5V: 50 mm) is used, the circumference speed
exceeds the safety limit and the wheel will break. Never
use such a wheel.
Distance L varies for D. Determine L referring to the table
below.
When d = 3 mm, 3.175 mm (1/8"), D should be less than
10 mm. Determine L referring to the table below.
Wheels can be simply attached and detached by using
the two wrenches (Fig. 2).
NOTE
○ Do not tighten the collet chuck by inserting a shaft thinner
than the regular shaft diameter (6 mm) in the chuck or in
an empty condition. This practice will damage the collet
chuck.
○ When installing a wheel with shaft, tighten the collet
chuck after applying a small quantity of spindle oil (or
sewing machine oil) to the tapered portion indicated in
Fig. 1.
10 mm
13 mm
13 mm
40 mm
6 mm, 6.35 mm (1/4")
6 mm, 6.35 mm (1/4")
16 mm
20 mm
40 mm
25 mm
7 mm
32 mm 25 mm 19 mm
(when = 15 mm)
8 mm
25 mm
25 mm
25 mm
32 mm
(when = 15 mm)
8 mm
12