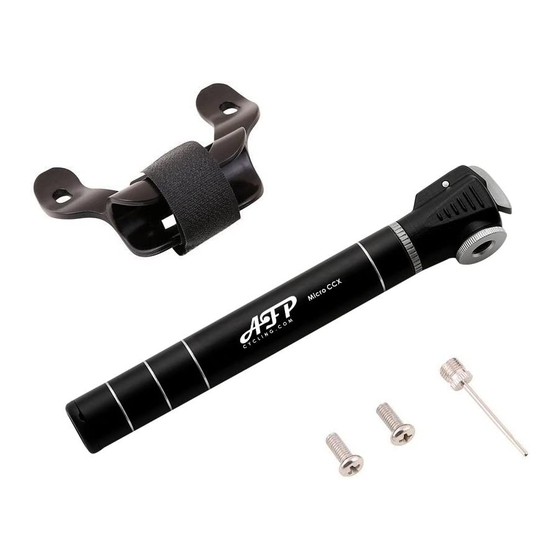
AFPCYCLING Micro CCX Manuel d'instruction - Page 2
Parcourez en ligne ou téléchargez le pdf Manuel d'instruction pour {nom_de_la_catégorie} AFPCYCLING Micro CCX. AFPCYCLING Micro CCX 2 pages. Minipump

Micro CCX Instruction Manual
Step 5 - Schrader & Presta Valves
Your new micro pump is compatible with both Schrader (American) and Presta (French)
valves. Schrader valves tend to be more common, are shorter, fatter and are also used
in automobiles. Presta valves are a tall, thin steel valve with a lock nut on top.
Presta
Your pump comes setup for Schrader valves, so if you have a Presta valve, you will have
to adjust your pump.
Step 1 – Unplug the mud cover
Step 2 – Unscrew the Silver Pump Mouth
Step 3 – Remove the Valve Seal from the Silver Pump Mouth. This can be tight as it is a
seal, so be sure to carefully use fingernails to pull out.
Step 4 – Carefully shake out the Valve Depressor from the Pump Head into your hand.
Step 5 – Now that you have the parts separated, choose whether you want your pump
configured for Schrader or Presta and reassemble it in the order shown in the diagram.
Important: Please note that the Valve Seal has different size holes on each side and
should be reassembled the opposite way for Schrader or Presta with the Valve
Depressor fitting snugly into the right size hole.
Step 6 – Pump Balls Using the Ball Needle
The ball needle is designed to fit into the Schrader setting of the pump. Ensure your
pump is set to pump Schrader valves before inserting the needle.
Once you insert the ball needle into the pump mouth, pull back the silver lever to lock
the needle in place. Be sure to stabilize the head of the pump when pumping to avoid
bending and breaking the ball needle.
www.afpcycling.com | [email protected] | © AFPCYCLING.COM
Schrader
Presta
3
4
1. Silver Pump Mouth
5
2. Mud Cover
3. Valve Seal
4. Valve Depressor
5. Pump Head
Schrader
cc
