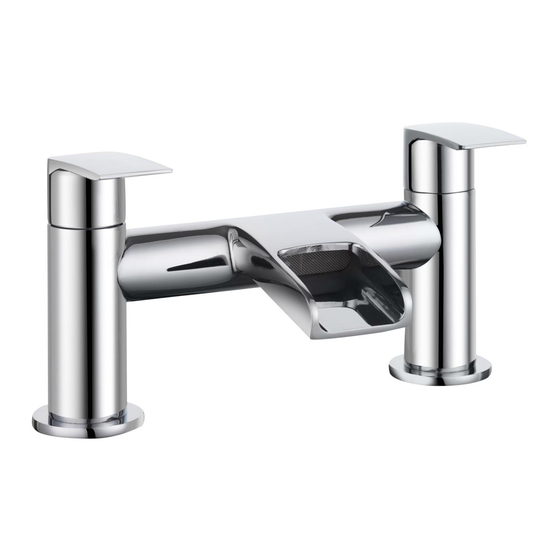
Bristan GWF BF C Instructions d'installation et manuel de l'utilisateur
Parcourez en ligne ou téléchargez le pdf Instructions d'installation et manuel de l'utilisateur pour {nom_de_la_catégorie} Bristan GWF BF C. Bristan GWF BF C 2 pages.

Specifications
Cold Water Supply
Dynamic Water Pressure
Min: 0.3bar
Max: 5.0bar
3.0
2.0
3.0
2.0
4.0
1.0
4.0
1.0
0.2
5.0
0.2
5.0
Pressure
Pressure
Min: 5°C Max: 25°C
BAR
BAR
Maximum Static Pressure: 10.0bar
Tools you'll need
Adjustable
spanner
Prior to Installation
All products manufactured and supplied by Bristan are safe
provided they are installed, used correctly and receive regular
maintenance in accordance with this instruction.
This product needs to be installed in accordance with, and meet the
requirements of the Water Supply (Water Fittings) Regulations 1999
and Scottish Bye-laws 2004.
For product specific installation requirements, please visit
www.wras.co.uk
Isolation valves must be fitted to the inlet water supplies to ensure
ease of future maintenance.
Before installing this product the water supply must be thoroughly
flushed in order to remove any swarf, solder etc.
This product must not be modified in any way as this will invalidate the
guarantee.
Full access must be made available for future maintenance /
servicing purposes.
If in doubt, contact a registered plumber or your Local Water Authority
or the Secretary of the Institute of Plumbing, address as follows;-
The Institute of Plumbing,
64 Station Lane,
Hornchurch,
Essex,
RM12 6NB, Tel: 01708 472791
Installation Instructions
& User Guide
Please leave these instructions
with the end user
Product code: GWF BF C (D1)
Inlet water temperature
Inlet Dimensions
Hot Water Supply
Max
65°C
80°C
25°C
Inlet Connection
60°C
5°C
60-65°C
80°C
Recommended
Maximum
Pipe cutter
Hexagonal Key
Pack Contents
x1
x2
x2
Installation
1
180mm
3
3/4" Male BSP
Tap Connector
Secure the body to the bath by using
the washer and metal back nut below
the bath. Tighten the back nut onto
the threaded tails.
Operation
On
Why not visit our
YouTube channel
x2
To see our latest how-to videos,
simply scan the QR code with your
smart phone or tablet.
2
Place the plinths
over the holes
in the bath
ensuring that
Fit the body to
the washers are
the bath.
fitted between
the plinths and
the bath.
4
Connect the hot and cold water supplies
to the threaded tails using ¾" BSP
connector (not supplied). Turn on the
mains water supply letting the water flow
for a few minutes to flush through the
system. Check all joints and connections
for any leaks.
Hot
Alternatively visit www.youtube.com/bristantv
Hot
Cold
Cold
On
